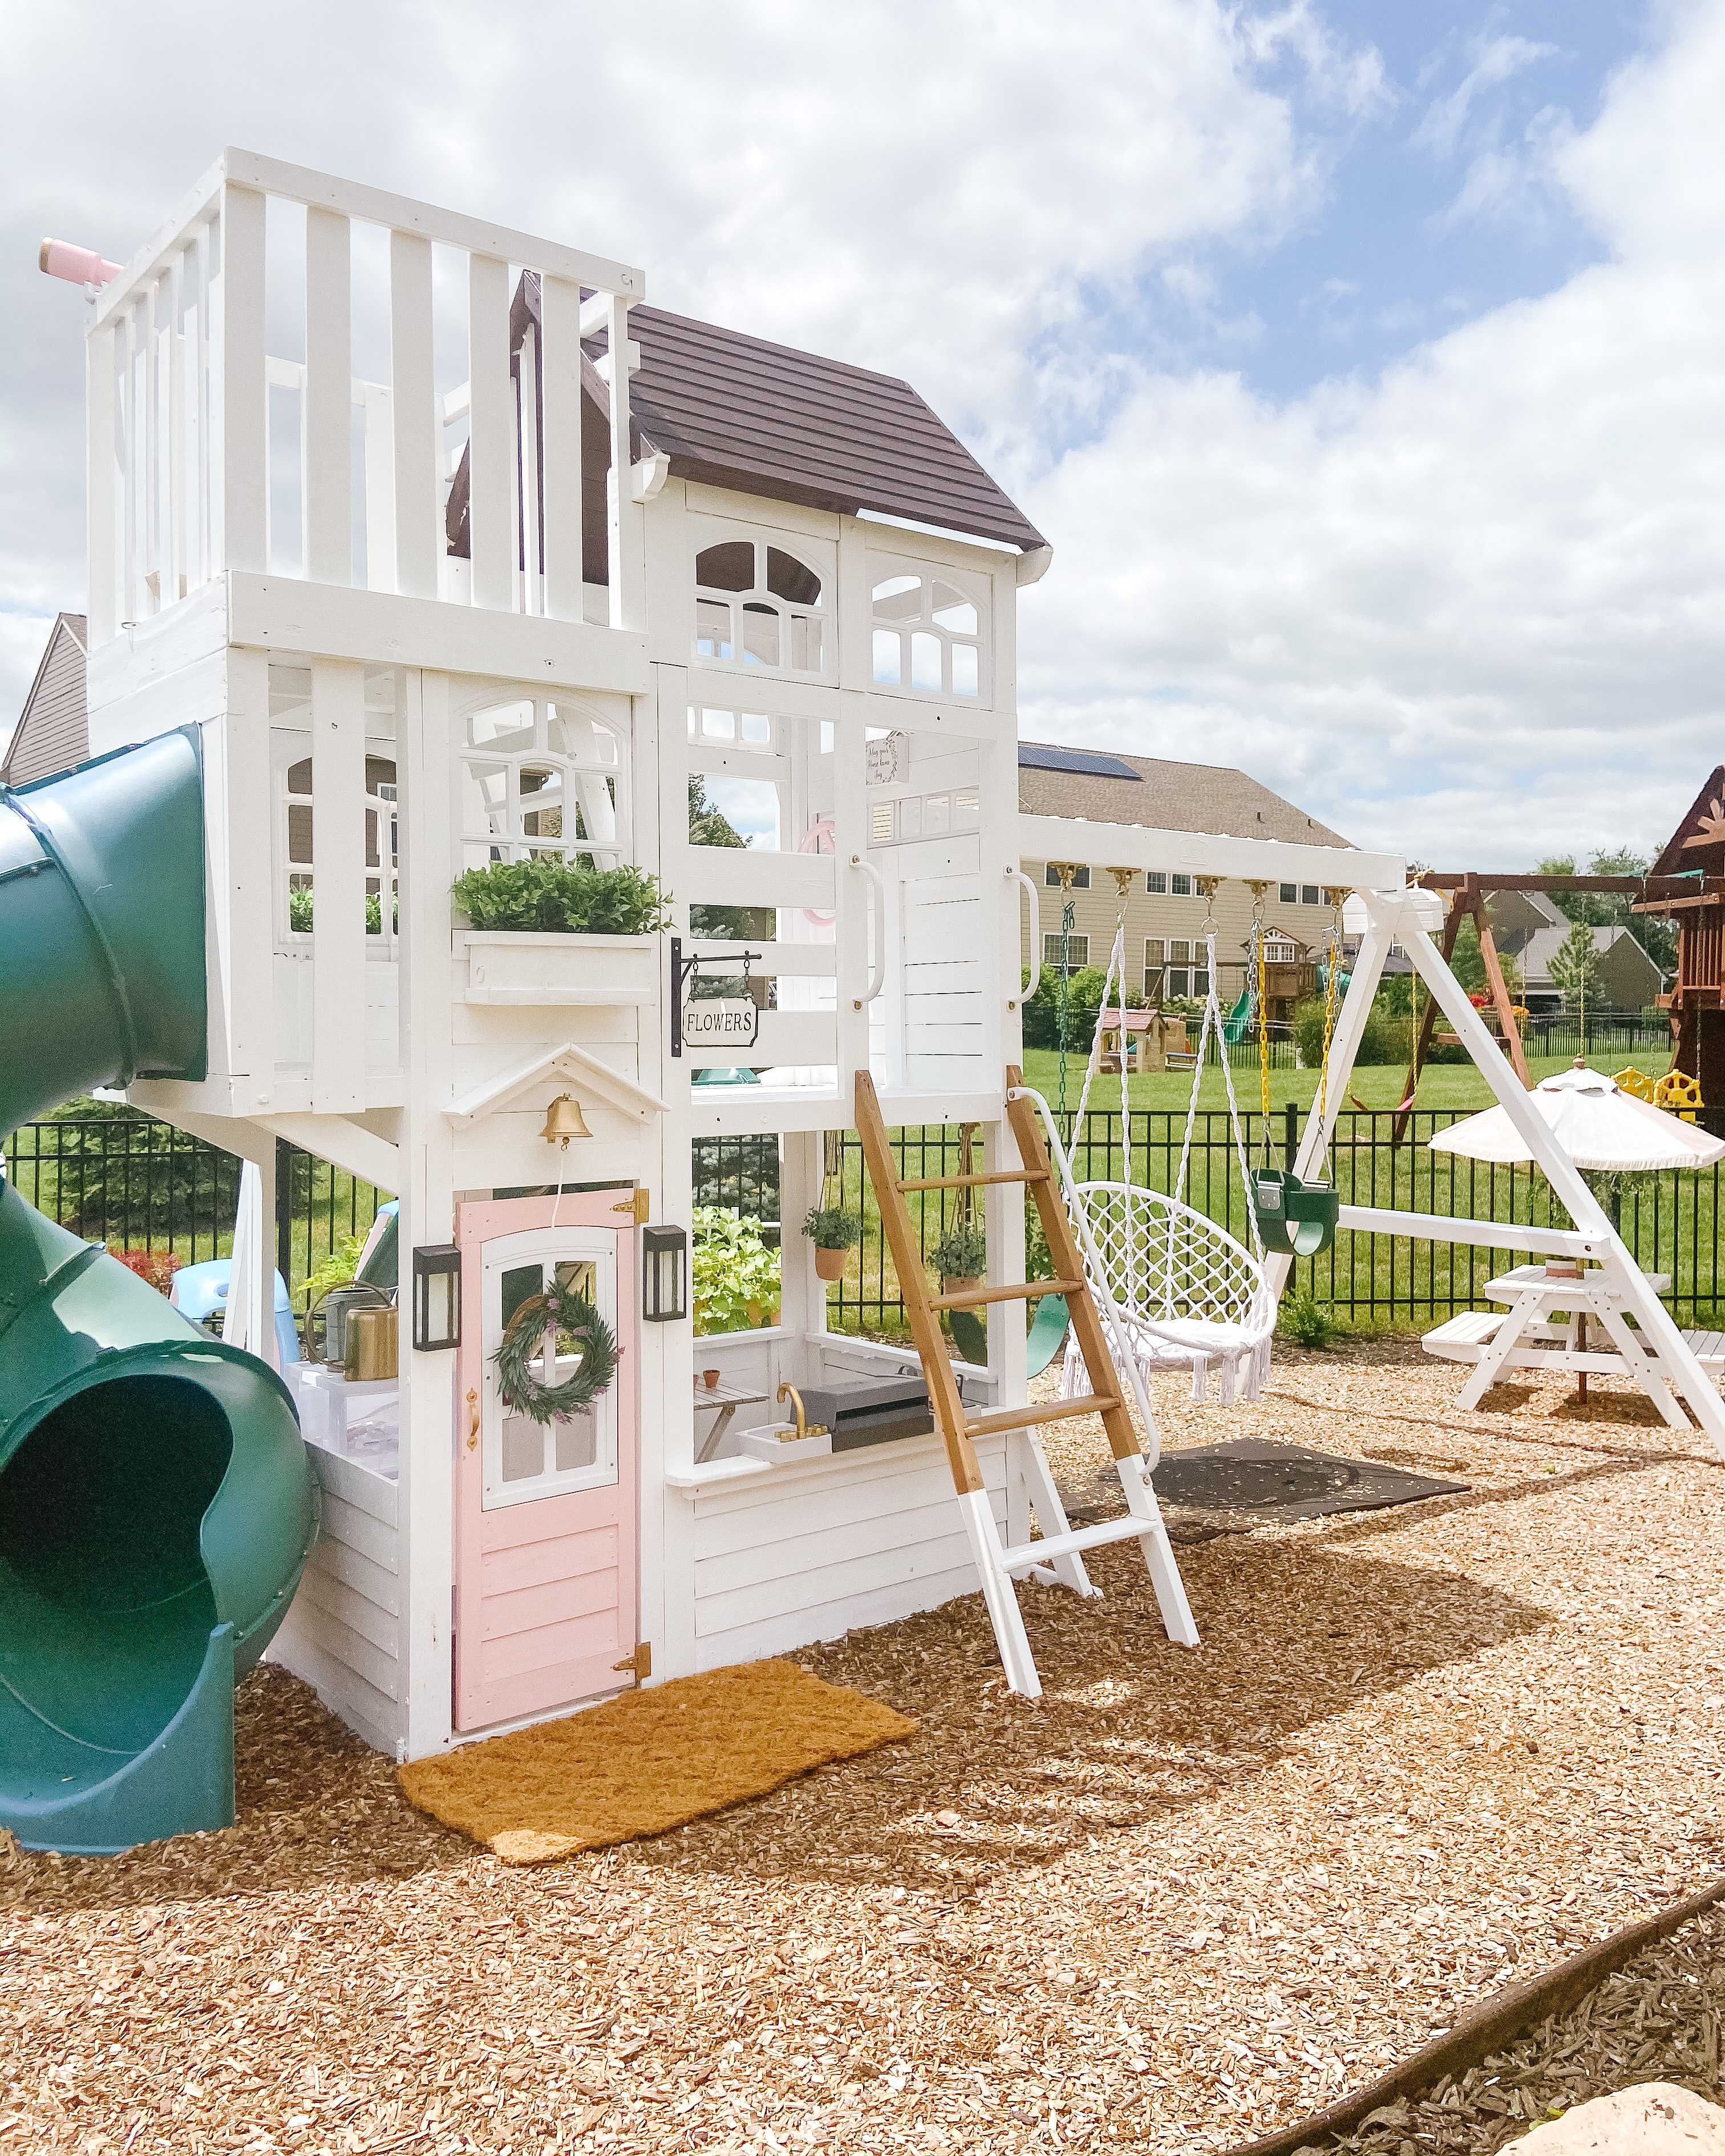
It’s hard to believe it’s been nearly two years since I embarked on one of my most ambitious DIY projects to date: painting our swing set white. Fondly nicknamed “the swing set of mama’s dreams” (and truly, it is!), witnessing my two little girls play in our backyard against such a picturesque backdrop has been nothing short of a dream come true!
If you’re considering painting your own playset, I hope this post offers both practical tips and a hearty dose of encouragement. Despite some initial skepticism from others, I can confidently say, two years down the line, that I have zero regrets about painting ours. My only wish is that your freshly painted playset brings as much joy to you and your family as ours does to us.
This post may contain affiliate links, which means we receive a small commission if you purchase through our links at no added cost to you. See our disclosure page for more information.
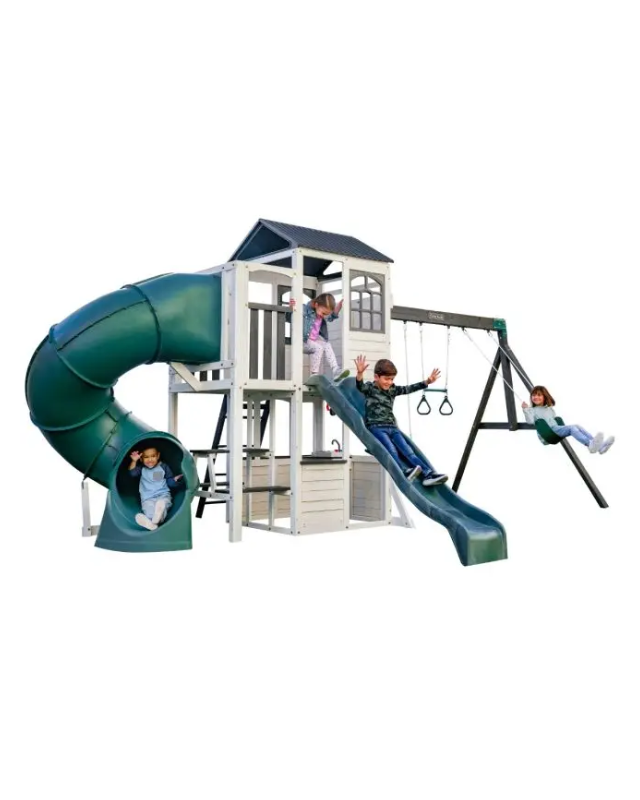
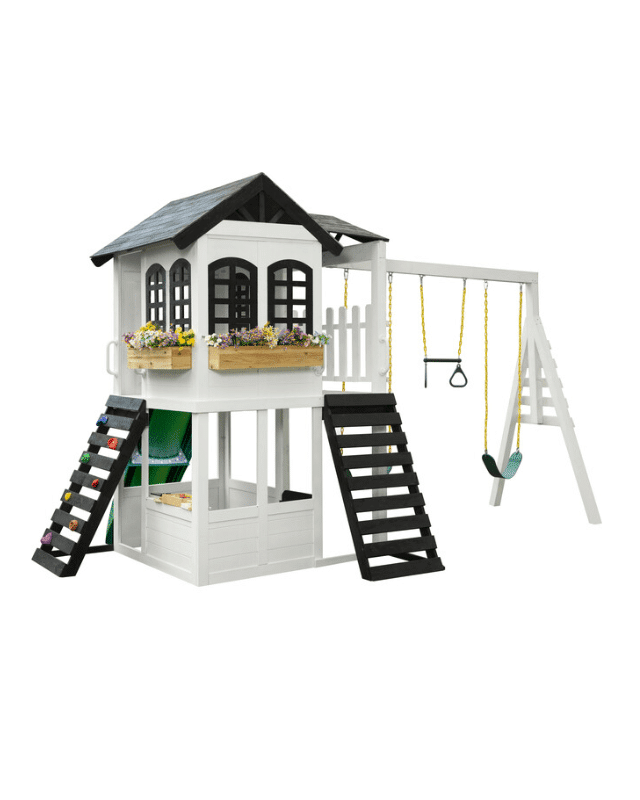
Swing sets sure have come a long way since we undertook this project! If you’re not refurbishing an existing playset, you might consider this pre-painted white swing set from Kidkraft. It’s very similar to our set. This would allow you to save time and concentrate your DIY skills on the exciting little details!
WHICH SWING SET DO YOU HAVE?
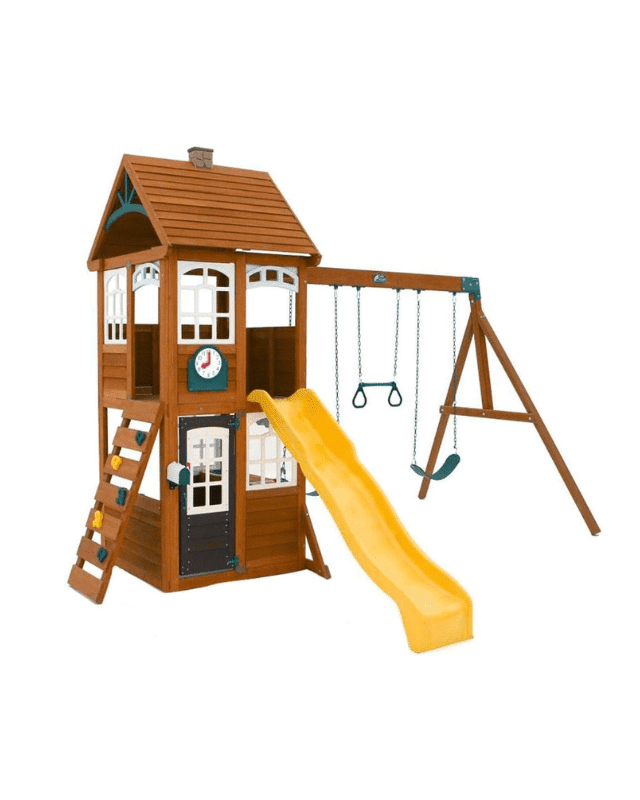
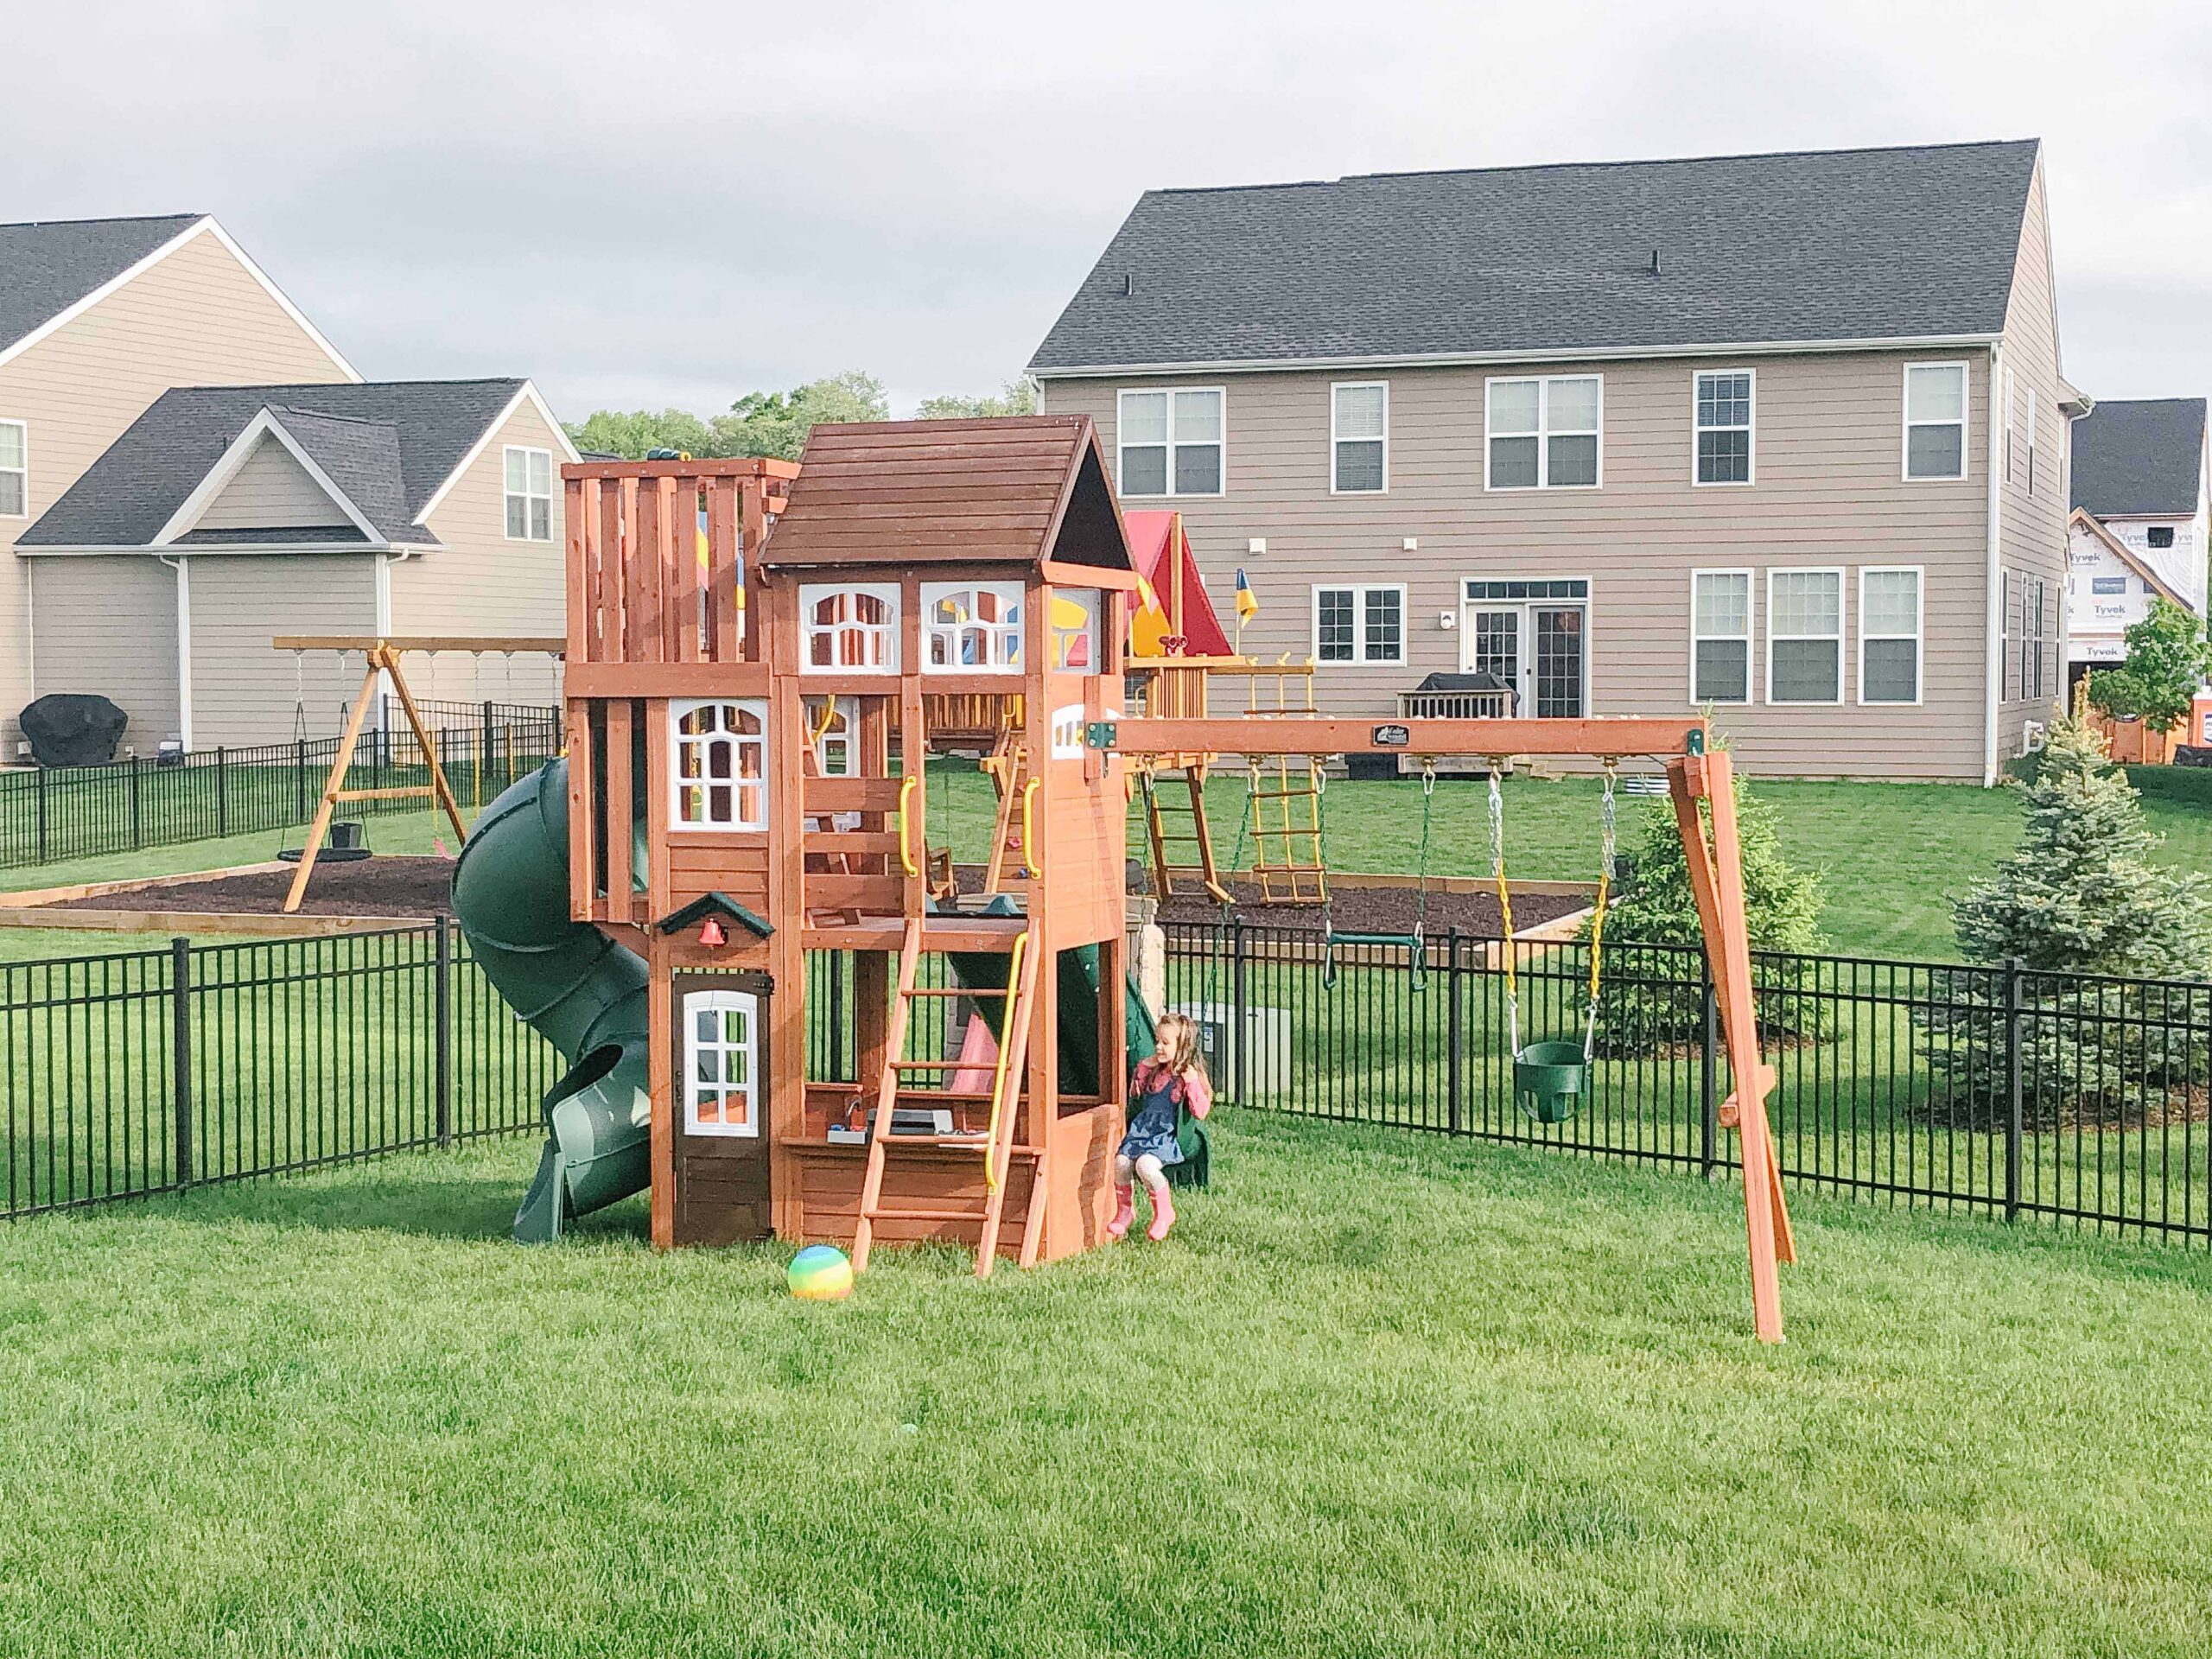
One of the most frequently asked questions I receive about our swing set is regarding its model. We own the Kidkraft Cedar Summit Copper Ridge Playset. While this particular model is no longer available, you can explore similar options such as this one or that one. Additionally, besides painting the swing set, we made some structural adjustments during its assembly. Hence, you won’t find one just like it!
STRUCTURAL MODIFICATIONS
The biggest structural change we made was installing the twin slides on the rear of the playset instead of the front of the playset. We did this for two reasons. First, we have an angled yard, so it fits our landscaping better. And secondly, by moving the twin slides to the rear of the playset, we were able to bring the ladder to the front side of the playset. This gave us a clearer sightline inside of the play structure so that we are able to watch our girls from our home and patio.
Our swing set model also included a rock climbing wall located next to the ladder. However, because our girls were so little at the time and we didn’t want them climbing up the rock wall anyway, we decided to forgo that feature in order to open up the front more. We then used the extra slats provided to build the rock climbing wall to close up the wall to the left of the ladder. In doing so, we were able to make all of these changes without purchasing any additional materials on our own
Note: Please ensure any structural alterations prioritize safety above all.
OTHER CONSIDERATIONS
When it comes to painting a new swing set or playhouse, there are two ways to go about it. You can paint your swing set before you assemble it or after you assemble it. In our case, we assembled the swing set the summer prior to painting it with the intention to paint it the following spring.
One thing that this mama of two girls did not want to wait until spring for, however, was painting the front door pink. The color of our door is Sherwin Williams Rosy Outlook and it’s the perfect shade of peachy pink! Painting the door early also gave us some insight into how the paint we chose would soak up and hold up the following season.
Another element that I often get asked about is the landscaping that we added around the swing set. While my husband’s main goal was to never have to mow around it, we also wanted a space that blended in naturally with our other landscaping. A combination of un-dyed playground mulch and black mulch divided by a rubber border, created the two-tone look you see in our photos. We couldn’t have done all of this without professional landscapers who helped us to install it.
Additionally, we utilized these sandstone stepping stones (the most reasonably priced we could find) to create several walkways to the swing set. This helps prevent mulch from being displaced into the yard and is 90% effective in preventing the girls from walking through the bushes. 🙂
PRIMING AND PREP
After a long midwest winter topped by an unexpected quarantine, my mom was finally able to come stay with us the following summer. This presented the perfect opportunity for me to do something creatively for myself, while she was able to help with our girls.
Controversially, I did NOT prime or sand the swing set before painting it. After doing some research and with limited childcare in mind, I ultimately decided not to, as sanding or priming would have doubled the time and work.
To prepare for painting I removed all of the small things such as the bell, ladders, steering wheel, telescope, kitchenette pieces, and railings. If you haven’t assembled your swing set yet, I recommend putting those aside initially for mini-makeovers later. I would often work on my mini-makeovers in the garage at night after I had lost too much daylight or got my girls to bed.
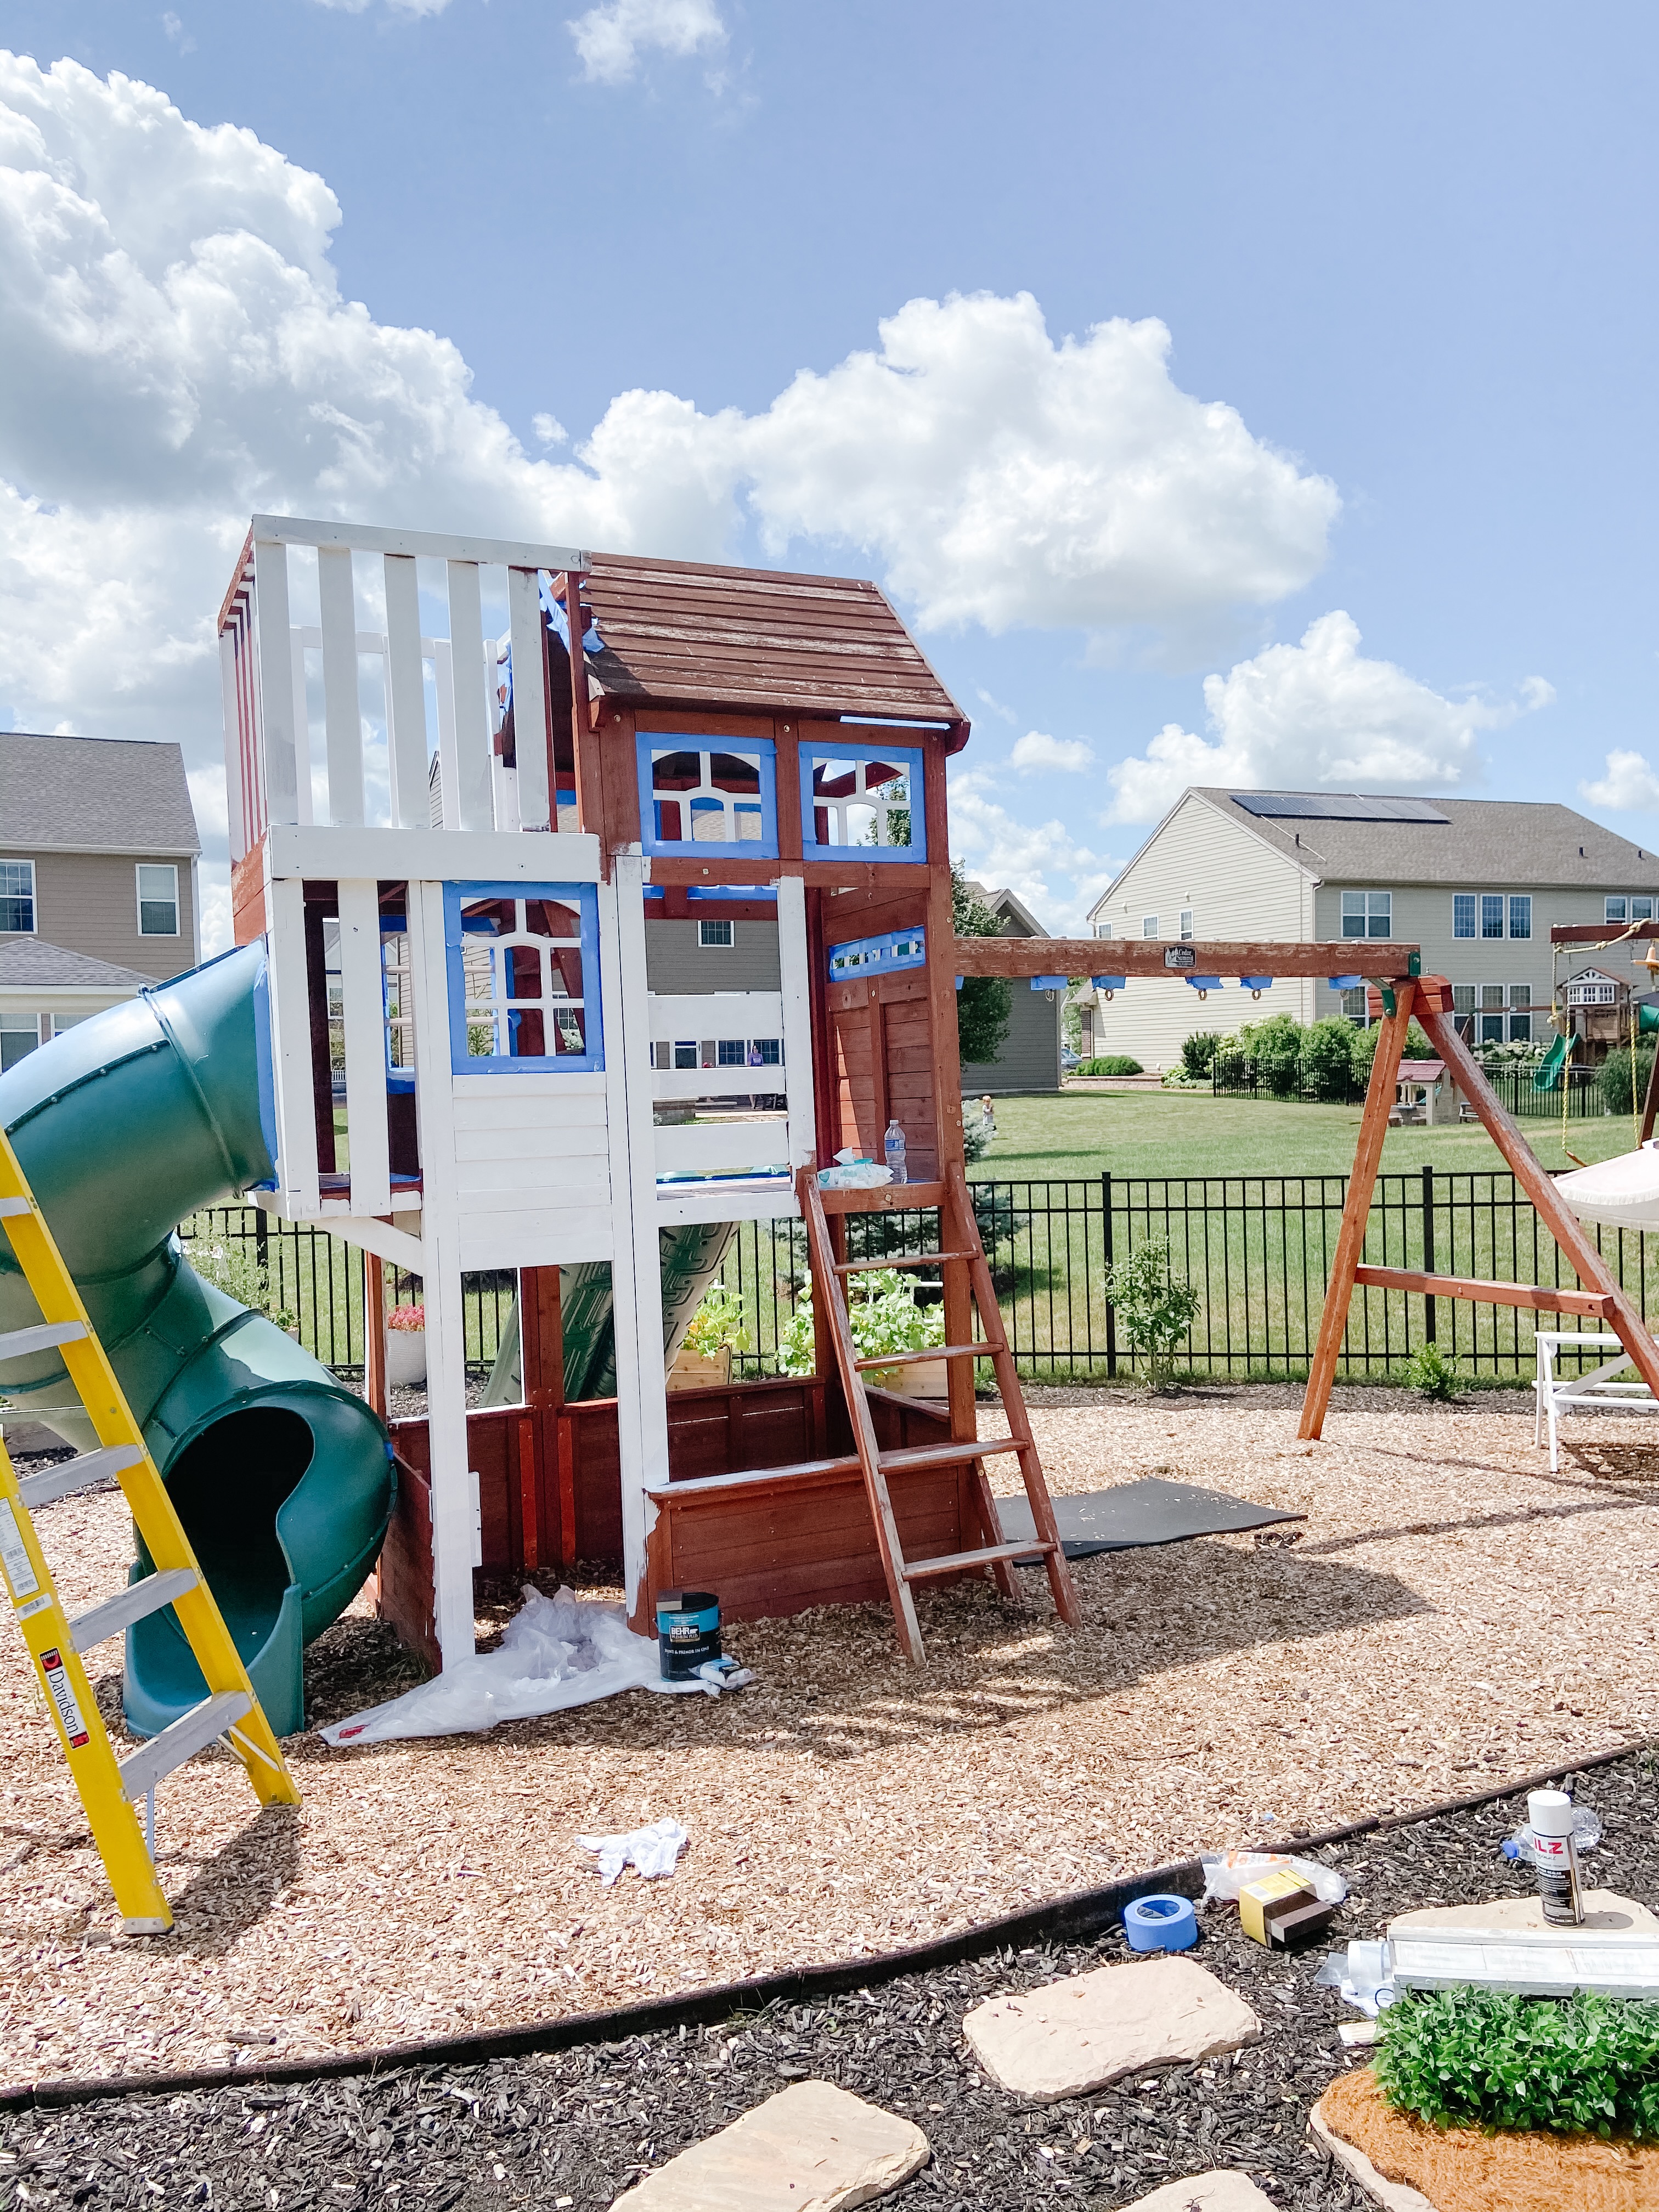
Once the small things were removed from the swing set I taped off around the roofline as well as all of the plastic window panes. I like to use Scotch Blue Original Painter’s Tape.
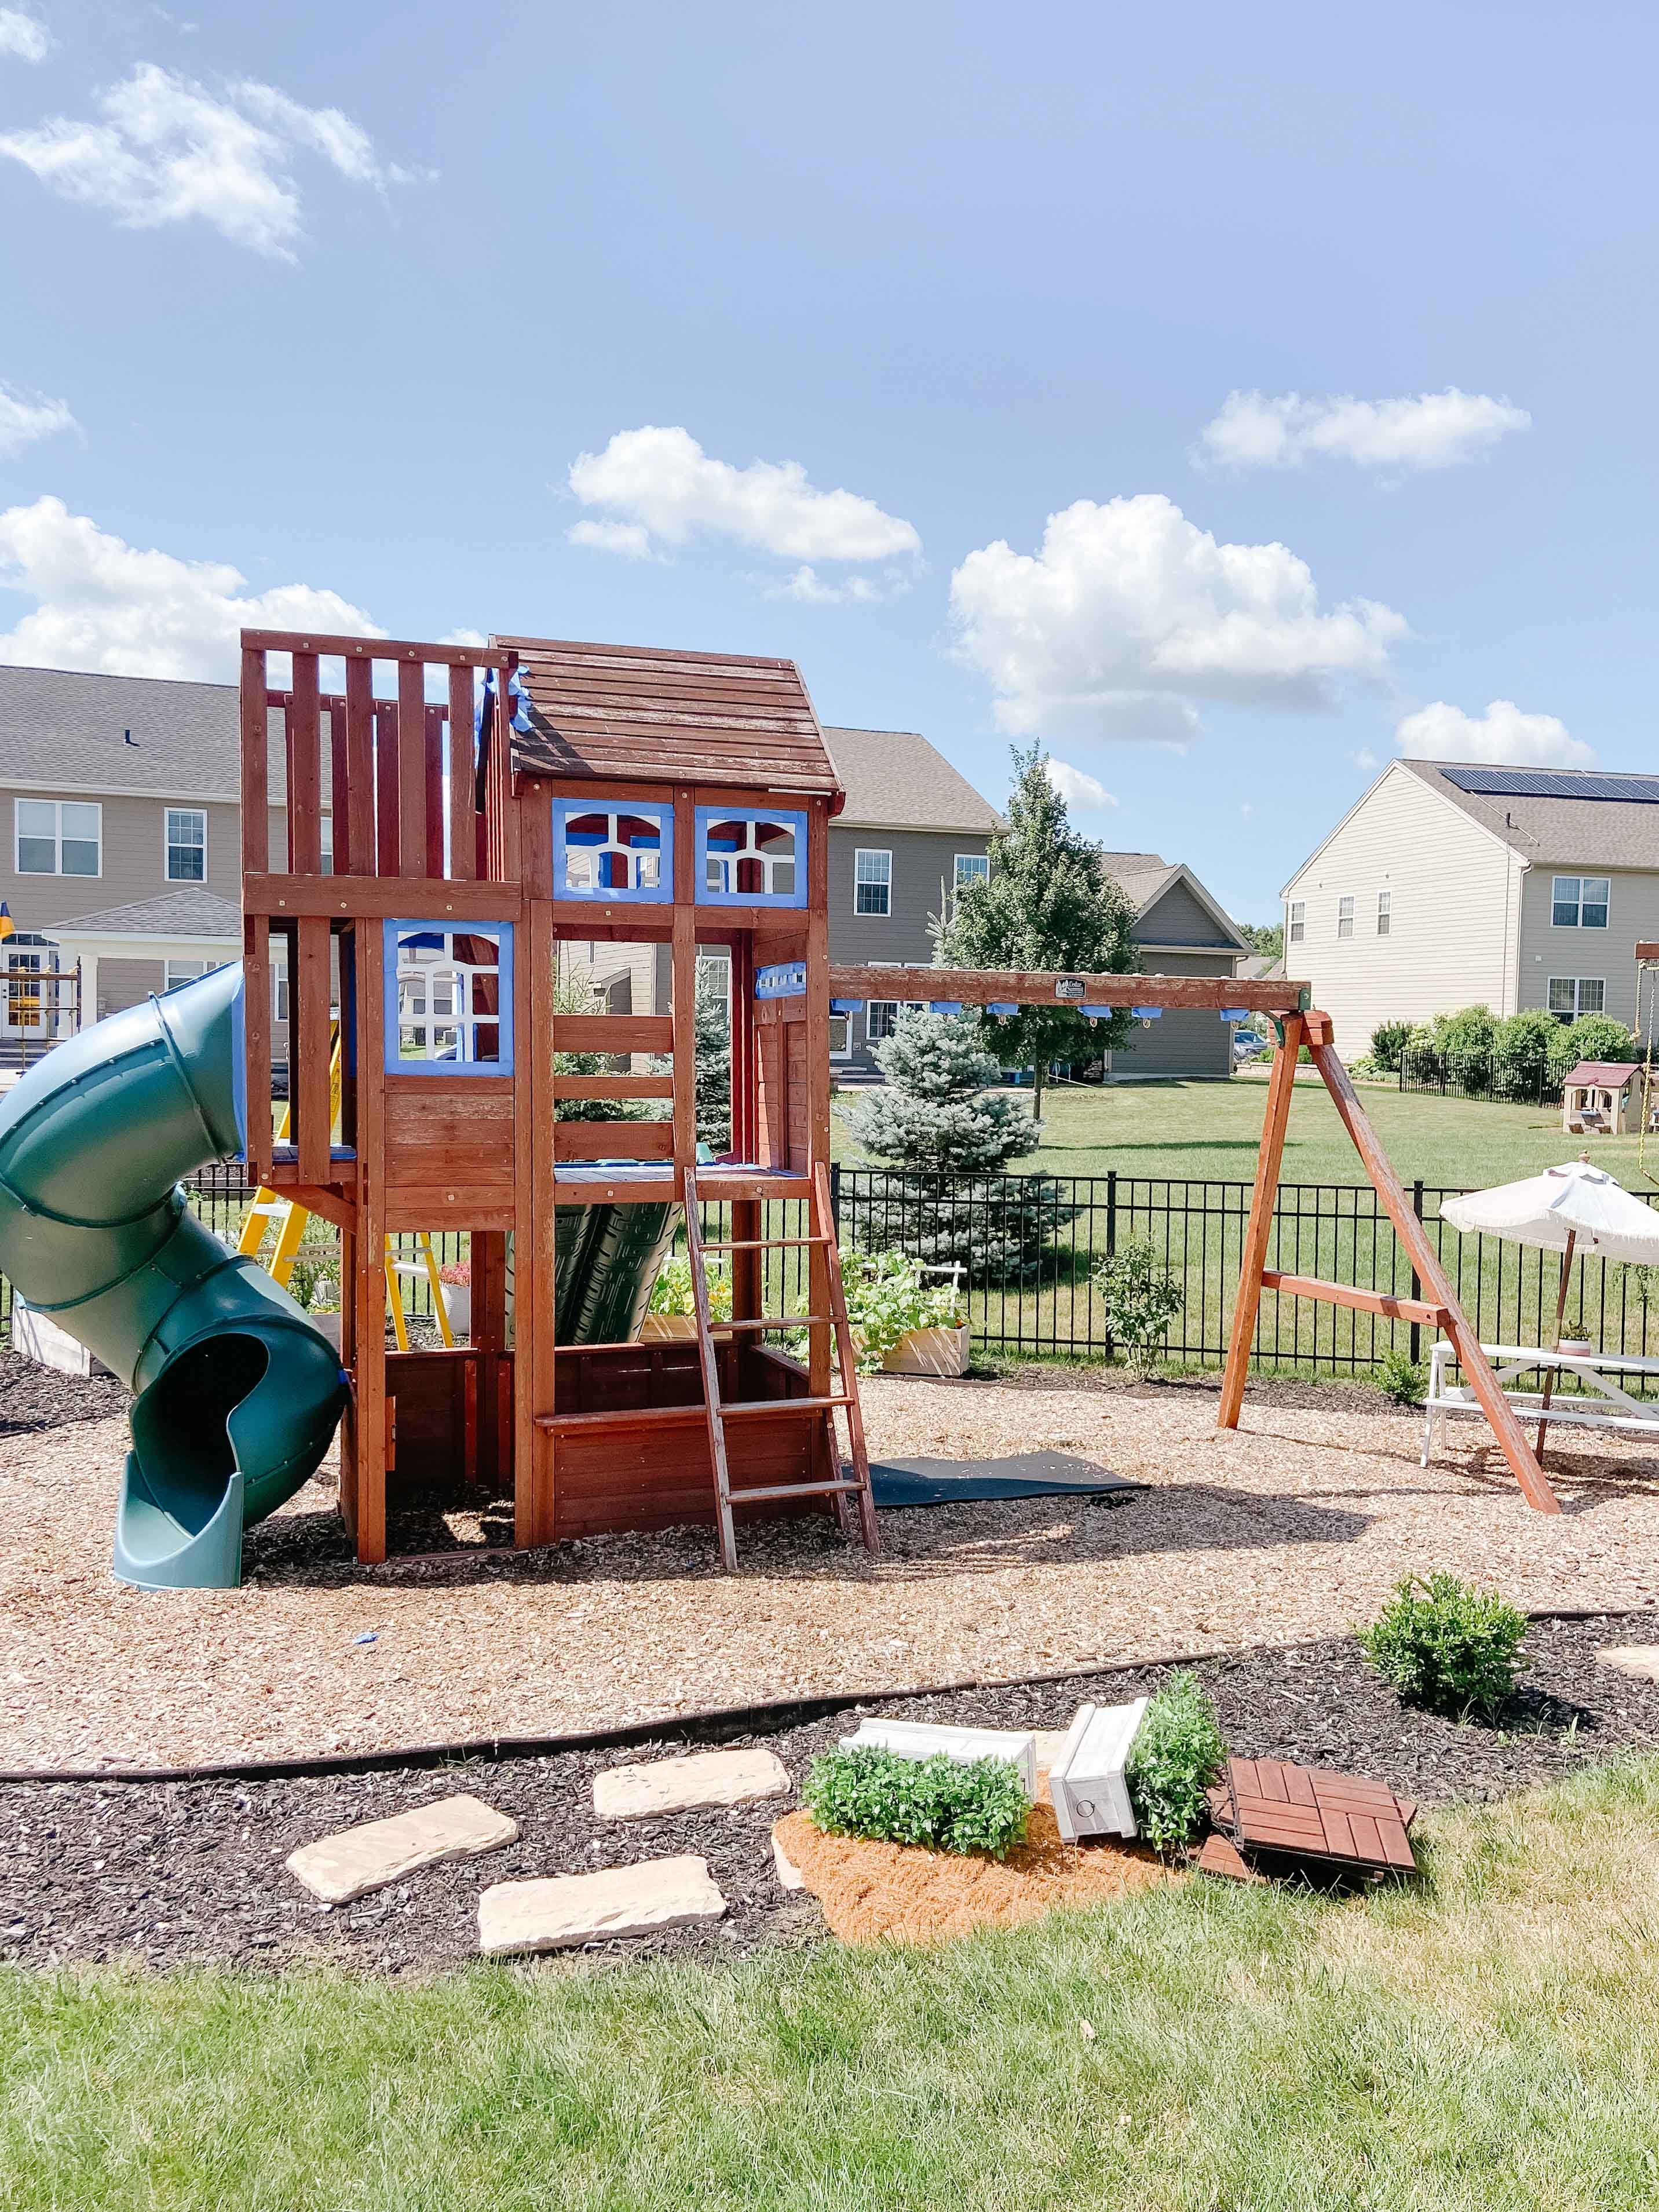
TIME TO PAINT
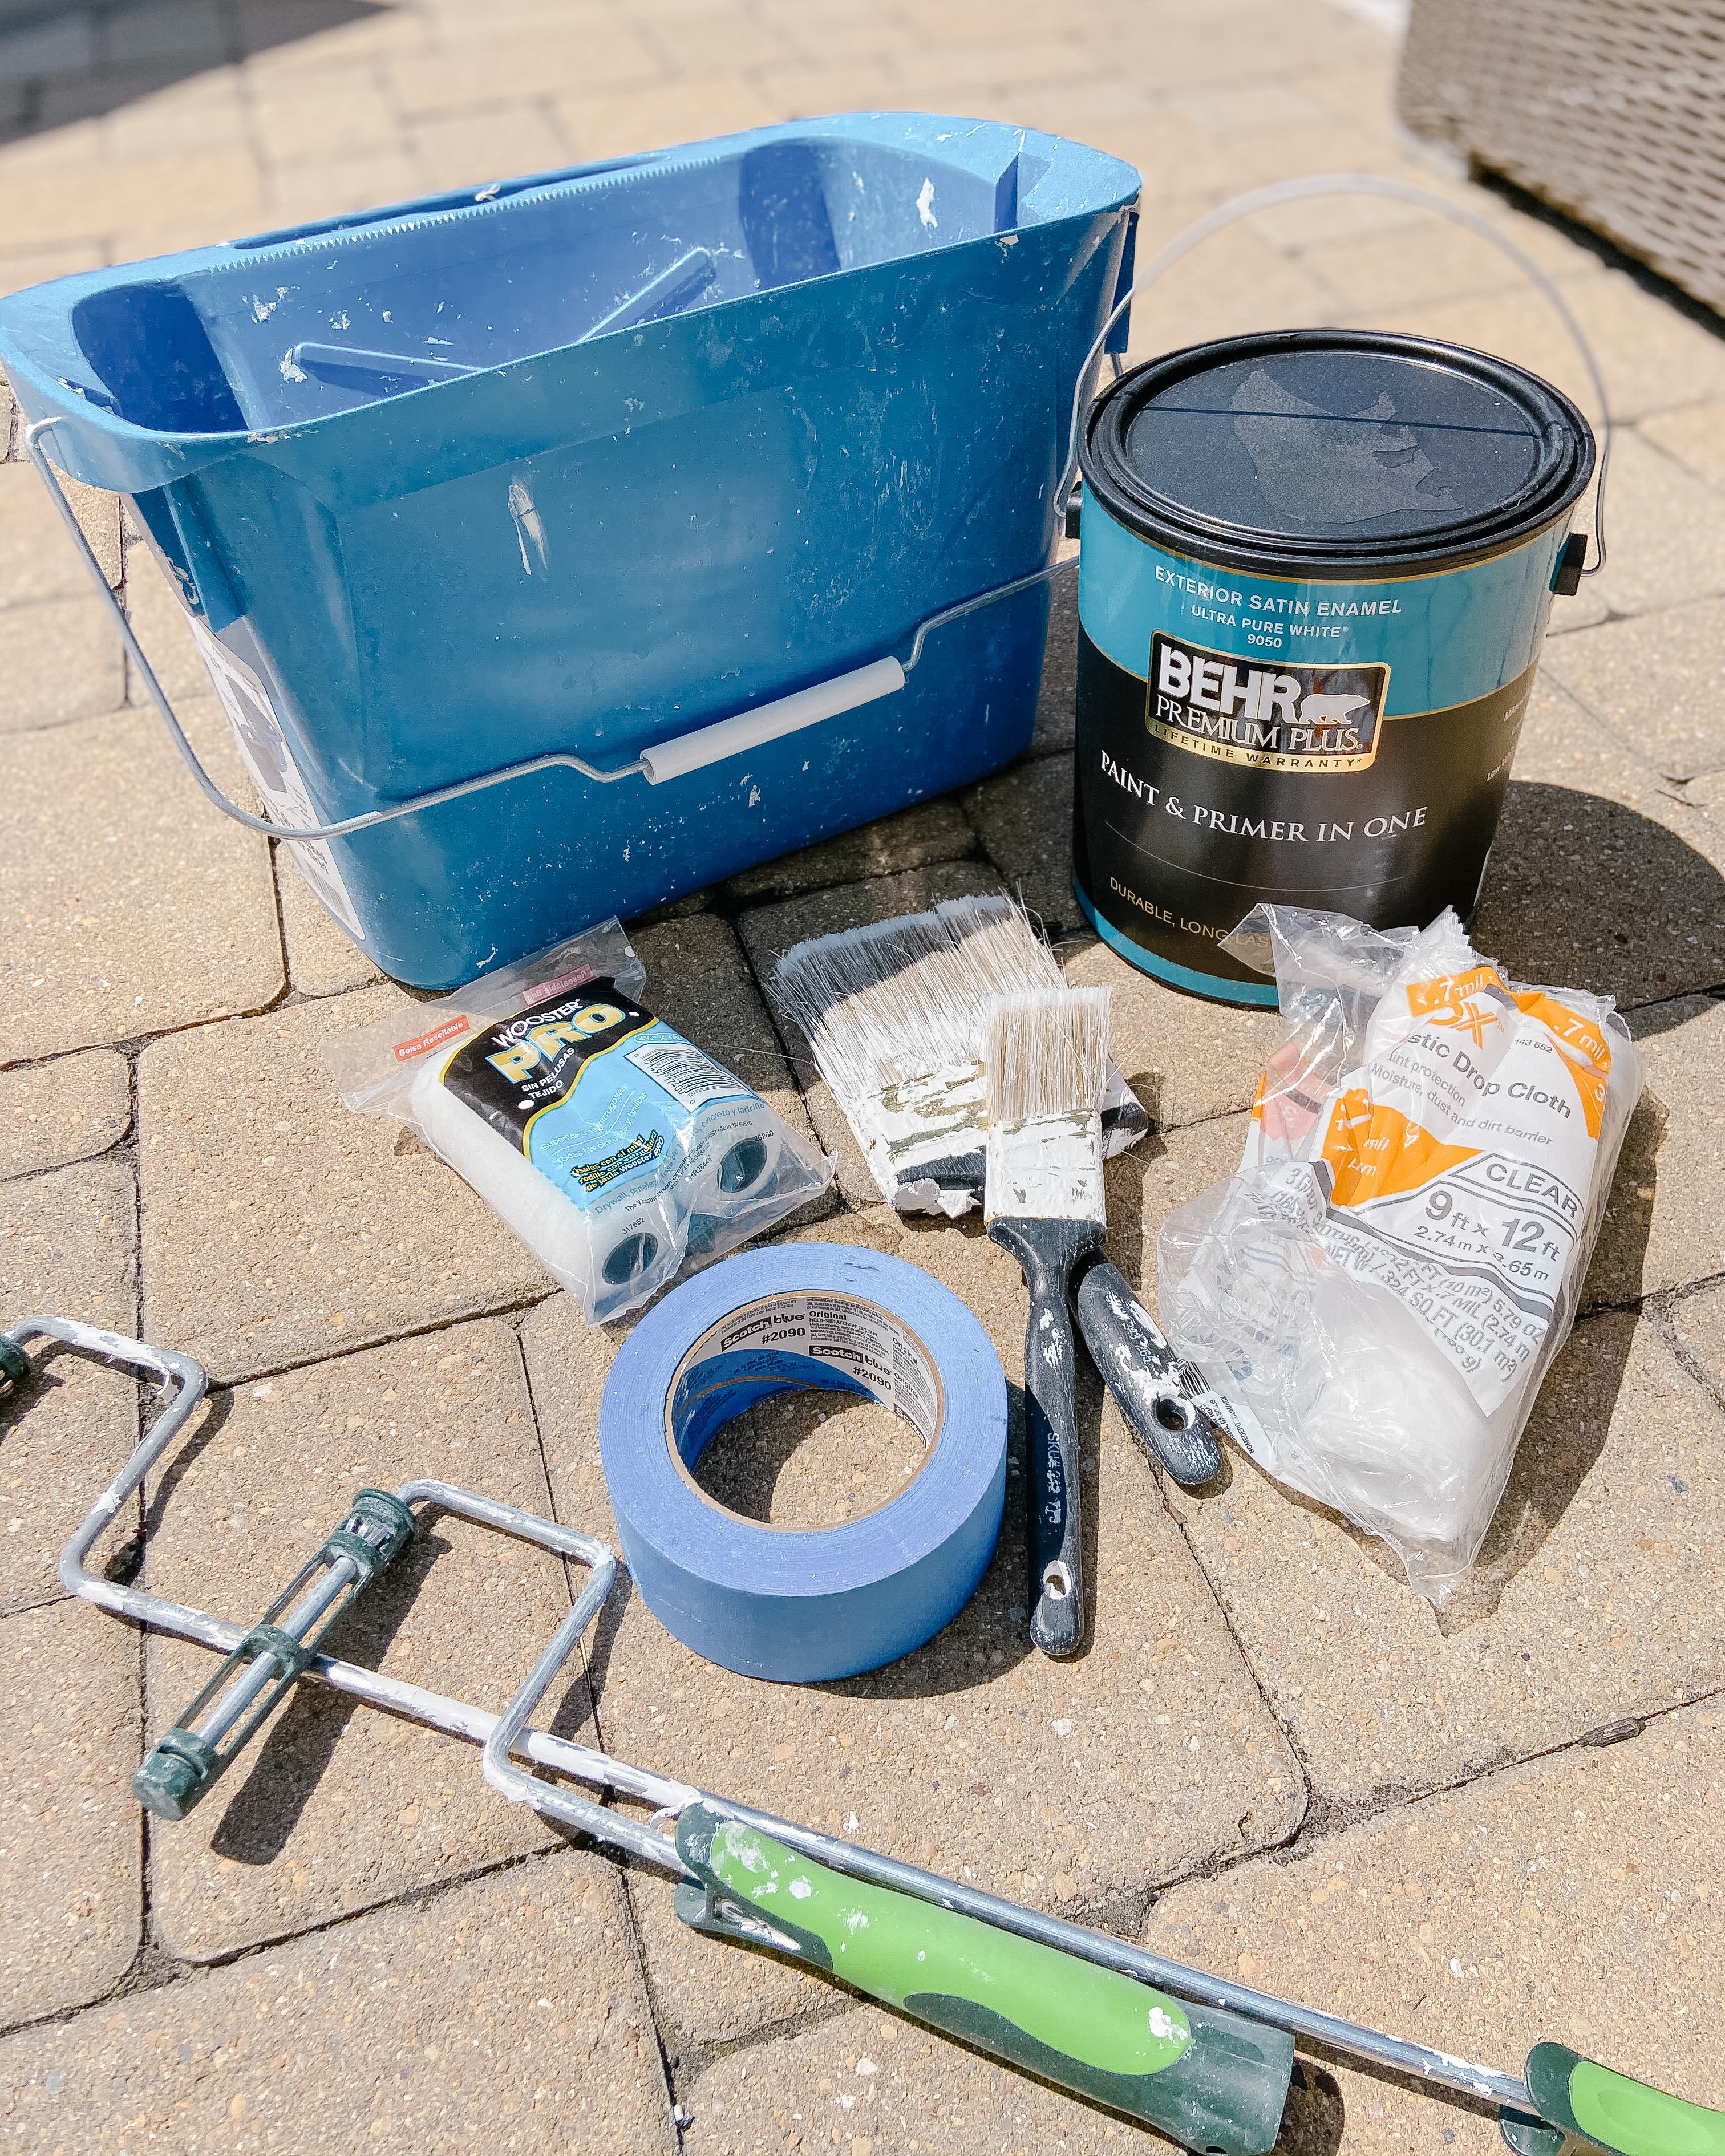
Once the swing set was taped off, it was time to paint. The paint that I used and recommend is Behr Premium Plus Exterior Satin Enamel in Ultra Bright White. I chose this paint because it’s formulated to last for 10-15 years, which is longer than I imagine my girls will be playing on it. While I’m sad about that, I am very happy with how well the paint has held up two years in.
To paint the swing set, I simply started at the top deck and slowly worked my way down and around. Every wooden surface required two coats of paint, so it took three full gallons to cover the swing set completely. I used a standard roller arm and an extended reach roller arm to paint most surfaces and a wide brush and an angled brush for the detail work. The MVP of the job was this handy ladder pail which held my paint and rollers while I was working on the upper decks.
My husband helped out by putting the second coat on after work and staining the roof for me, but it was mostly a one-woman job. Start to finish it took about a week (roughly 40-50 hours) to paint the swing set entirely and complete the mini-makeovers. If you have two people working together, I’d imagine you could do it all over a long weekend.
SEALING
Because I used the same paint to paint the floors as I painted the swing set, and that paint wasn’t especially advised for walking on, I knew I needed to seal them to add some durability.
Pro Tip: Let freshly painted surfaces cure for at least 24 hours before applying a sealant.
On the whim of a Home Depot Associate, I went with Rustoleum Clear Spray Paint in Matte Finish. I was a bit hesitant to use a spray sealant, but the alternative was to use a polycrylic which tends to yellow on white surfaces over time. Not a great match for a white swing set sitting in the outdoor elements, if you can imagine!
The best way to apply a spray sealant is to spray in several thin even coats and to allow adequate drying time in between. I used 6 cans total to seal the top two decks and the ladders. This year is year two and while I do plan to touch up the floors this year, they have held up surprisingly well.
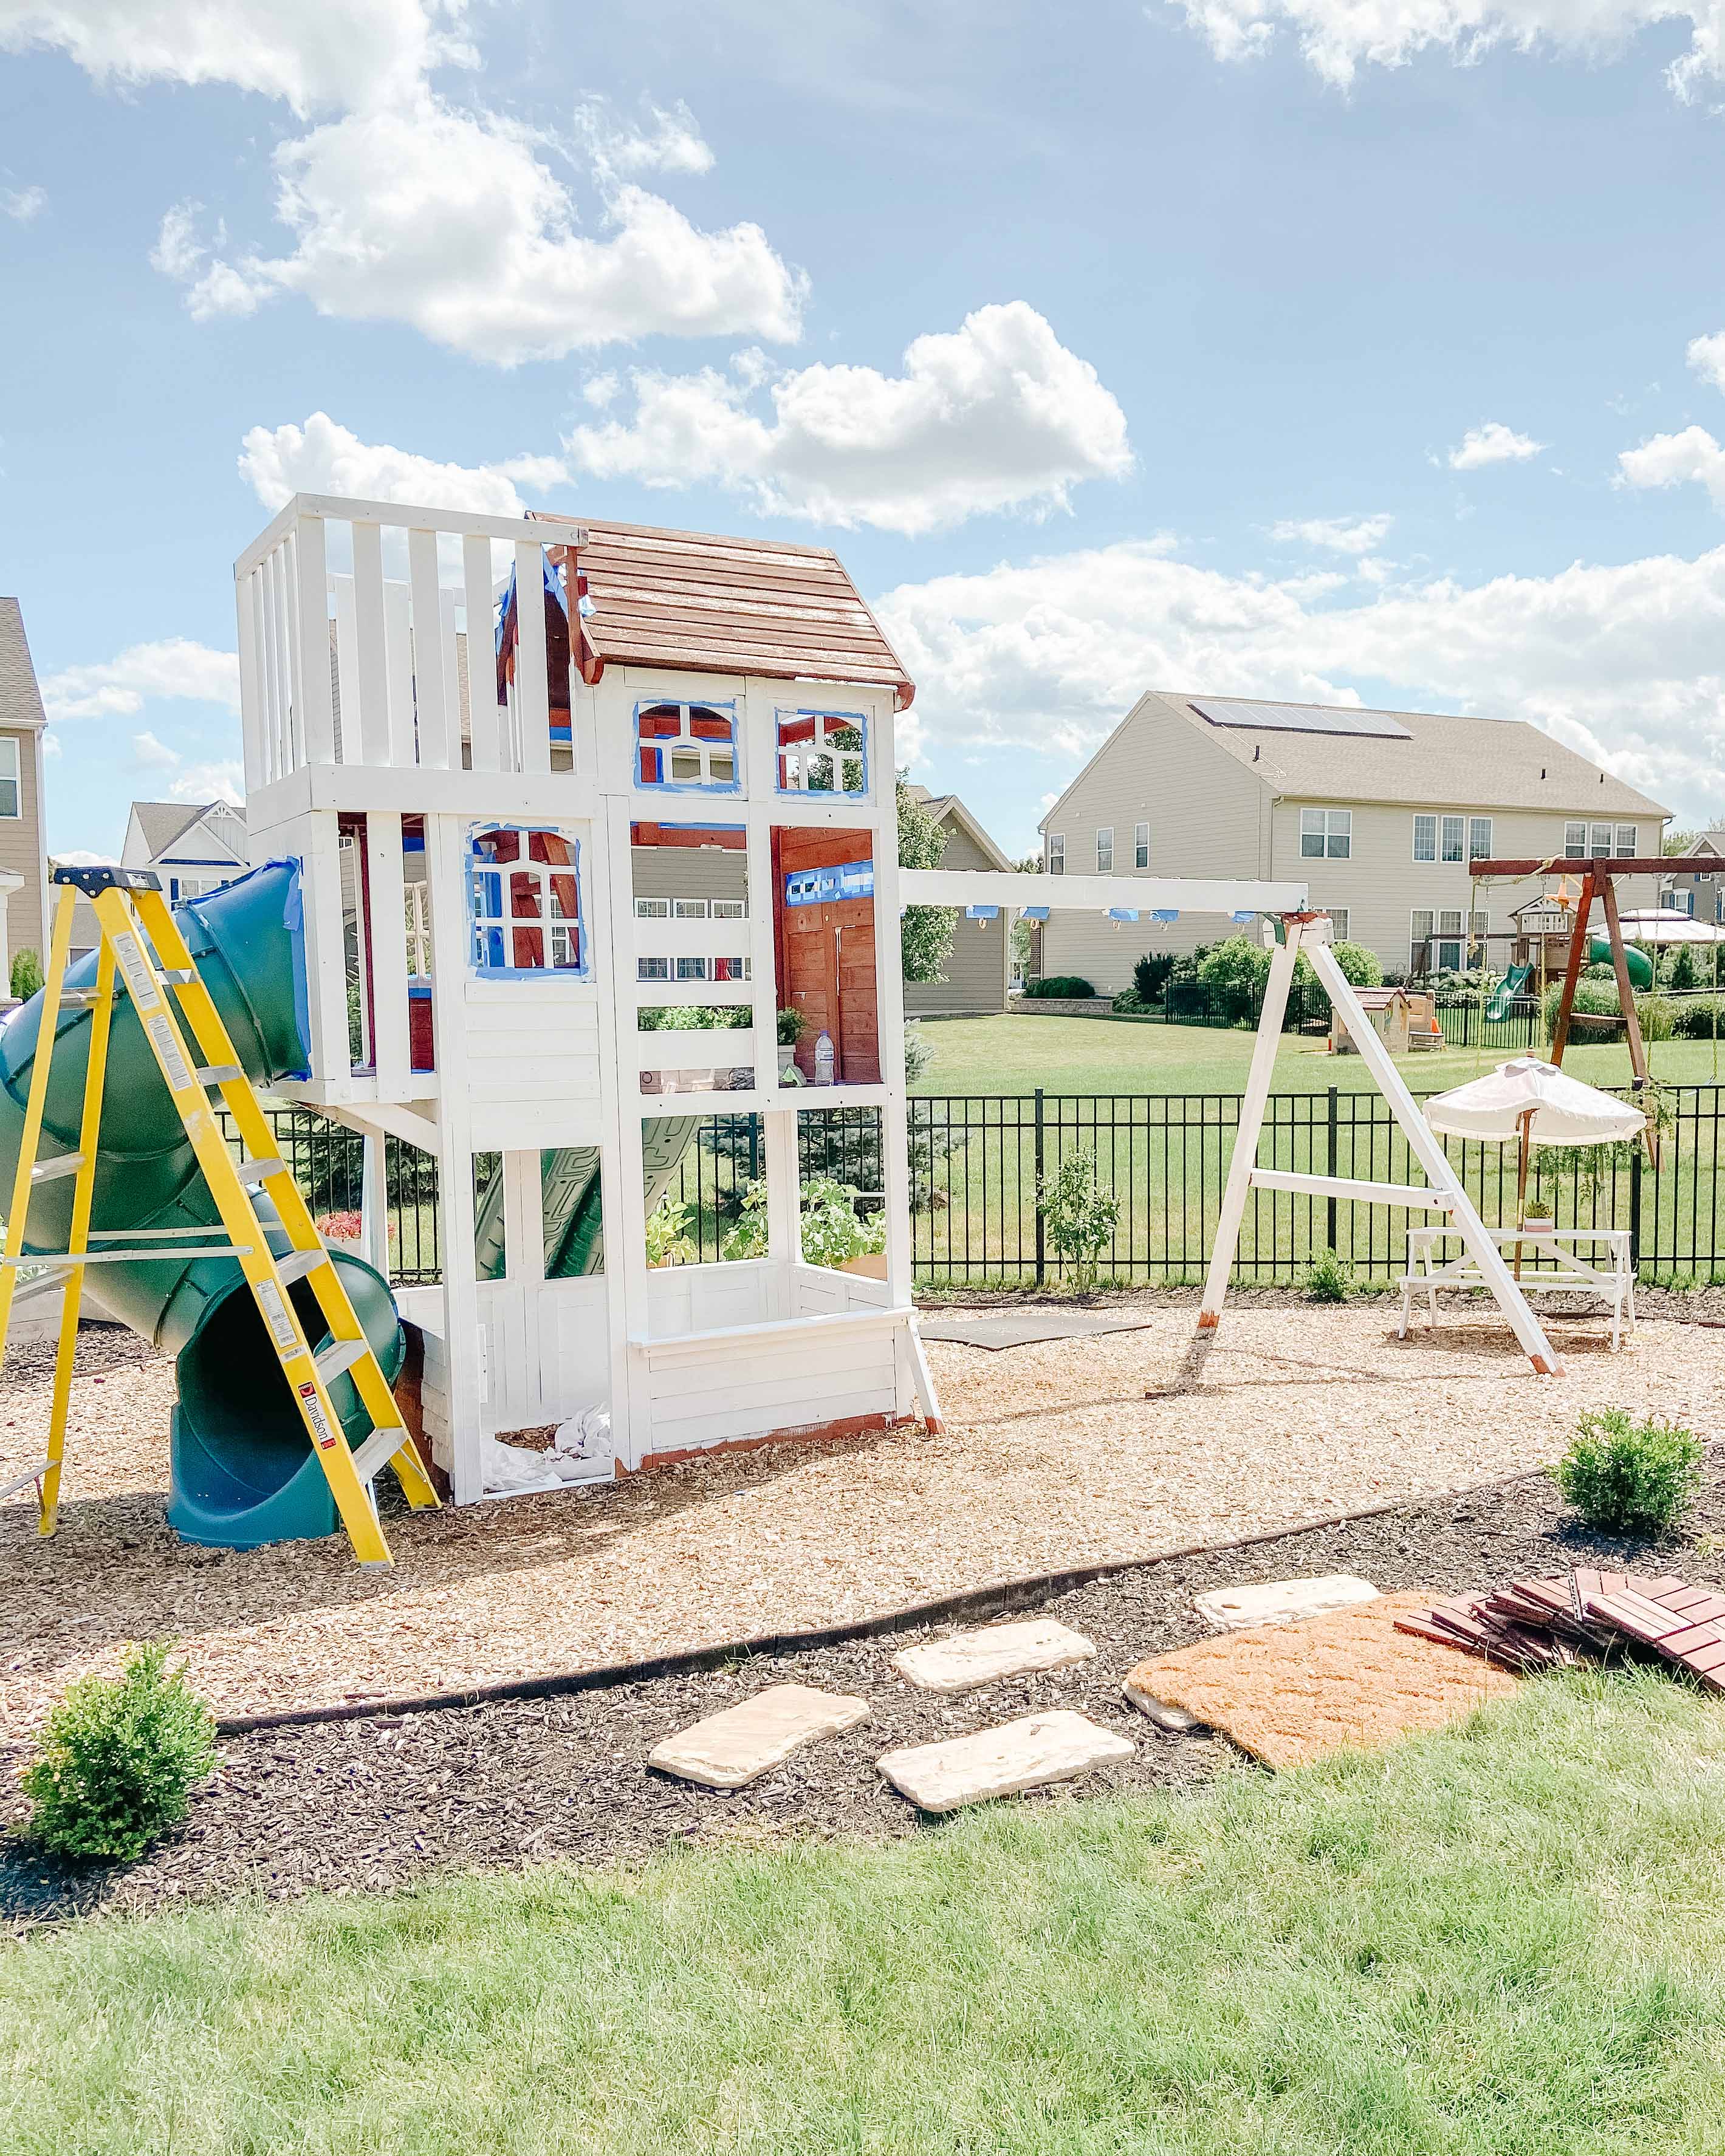
STAINING
Once the whole swing set was painted and sealed, it was time to stain the roof. To avoid sanding the original stain on the roof, I recommend picking a darker color than the current stain. I chose Behr Premium Semi-Transparent Waterproofing Exterior Wood Stain and Sealer in the color Cordovan Brown. It took two coats to complete the roof.
Unlike the roof, I decided to sand the ladder down to the raw wood and did so using an orbital sander. The ladder had a lot more wear and tear than the roof and I wanted it to be a lighter color than the original stain, so sanding was required in order for the new stain to take evenly. I ended up getting two sample-size stains to try and found a shade I liked best by mixing the two together. I used the Behr Premium Semi-Transparent Waterproofing Exterior Wood Stain and Sealer in both Tugboat Gray (warm) and Boothill Gray (cool) to stain the ladder. The two sample sizes ended up being all that I needed to complete the job and combined were exactly the shade I was hoping for– a pretty, neutral farmhouse tone.
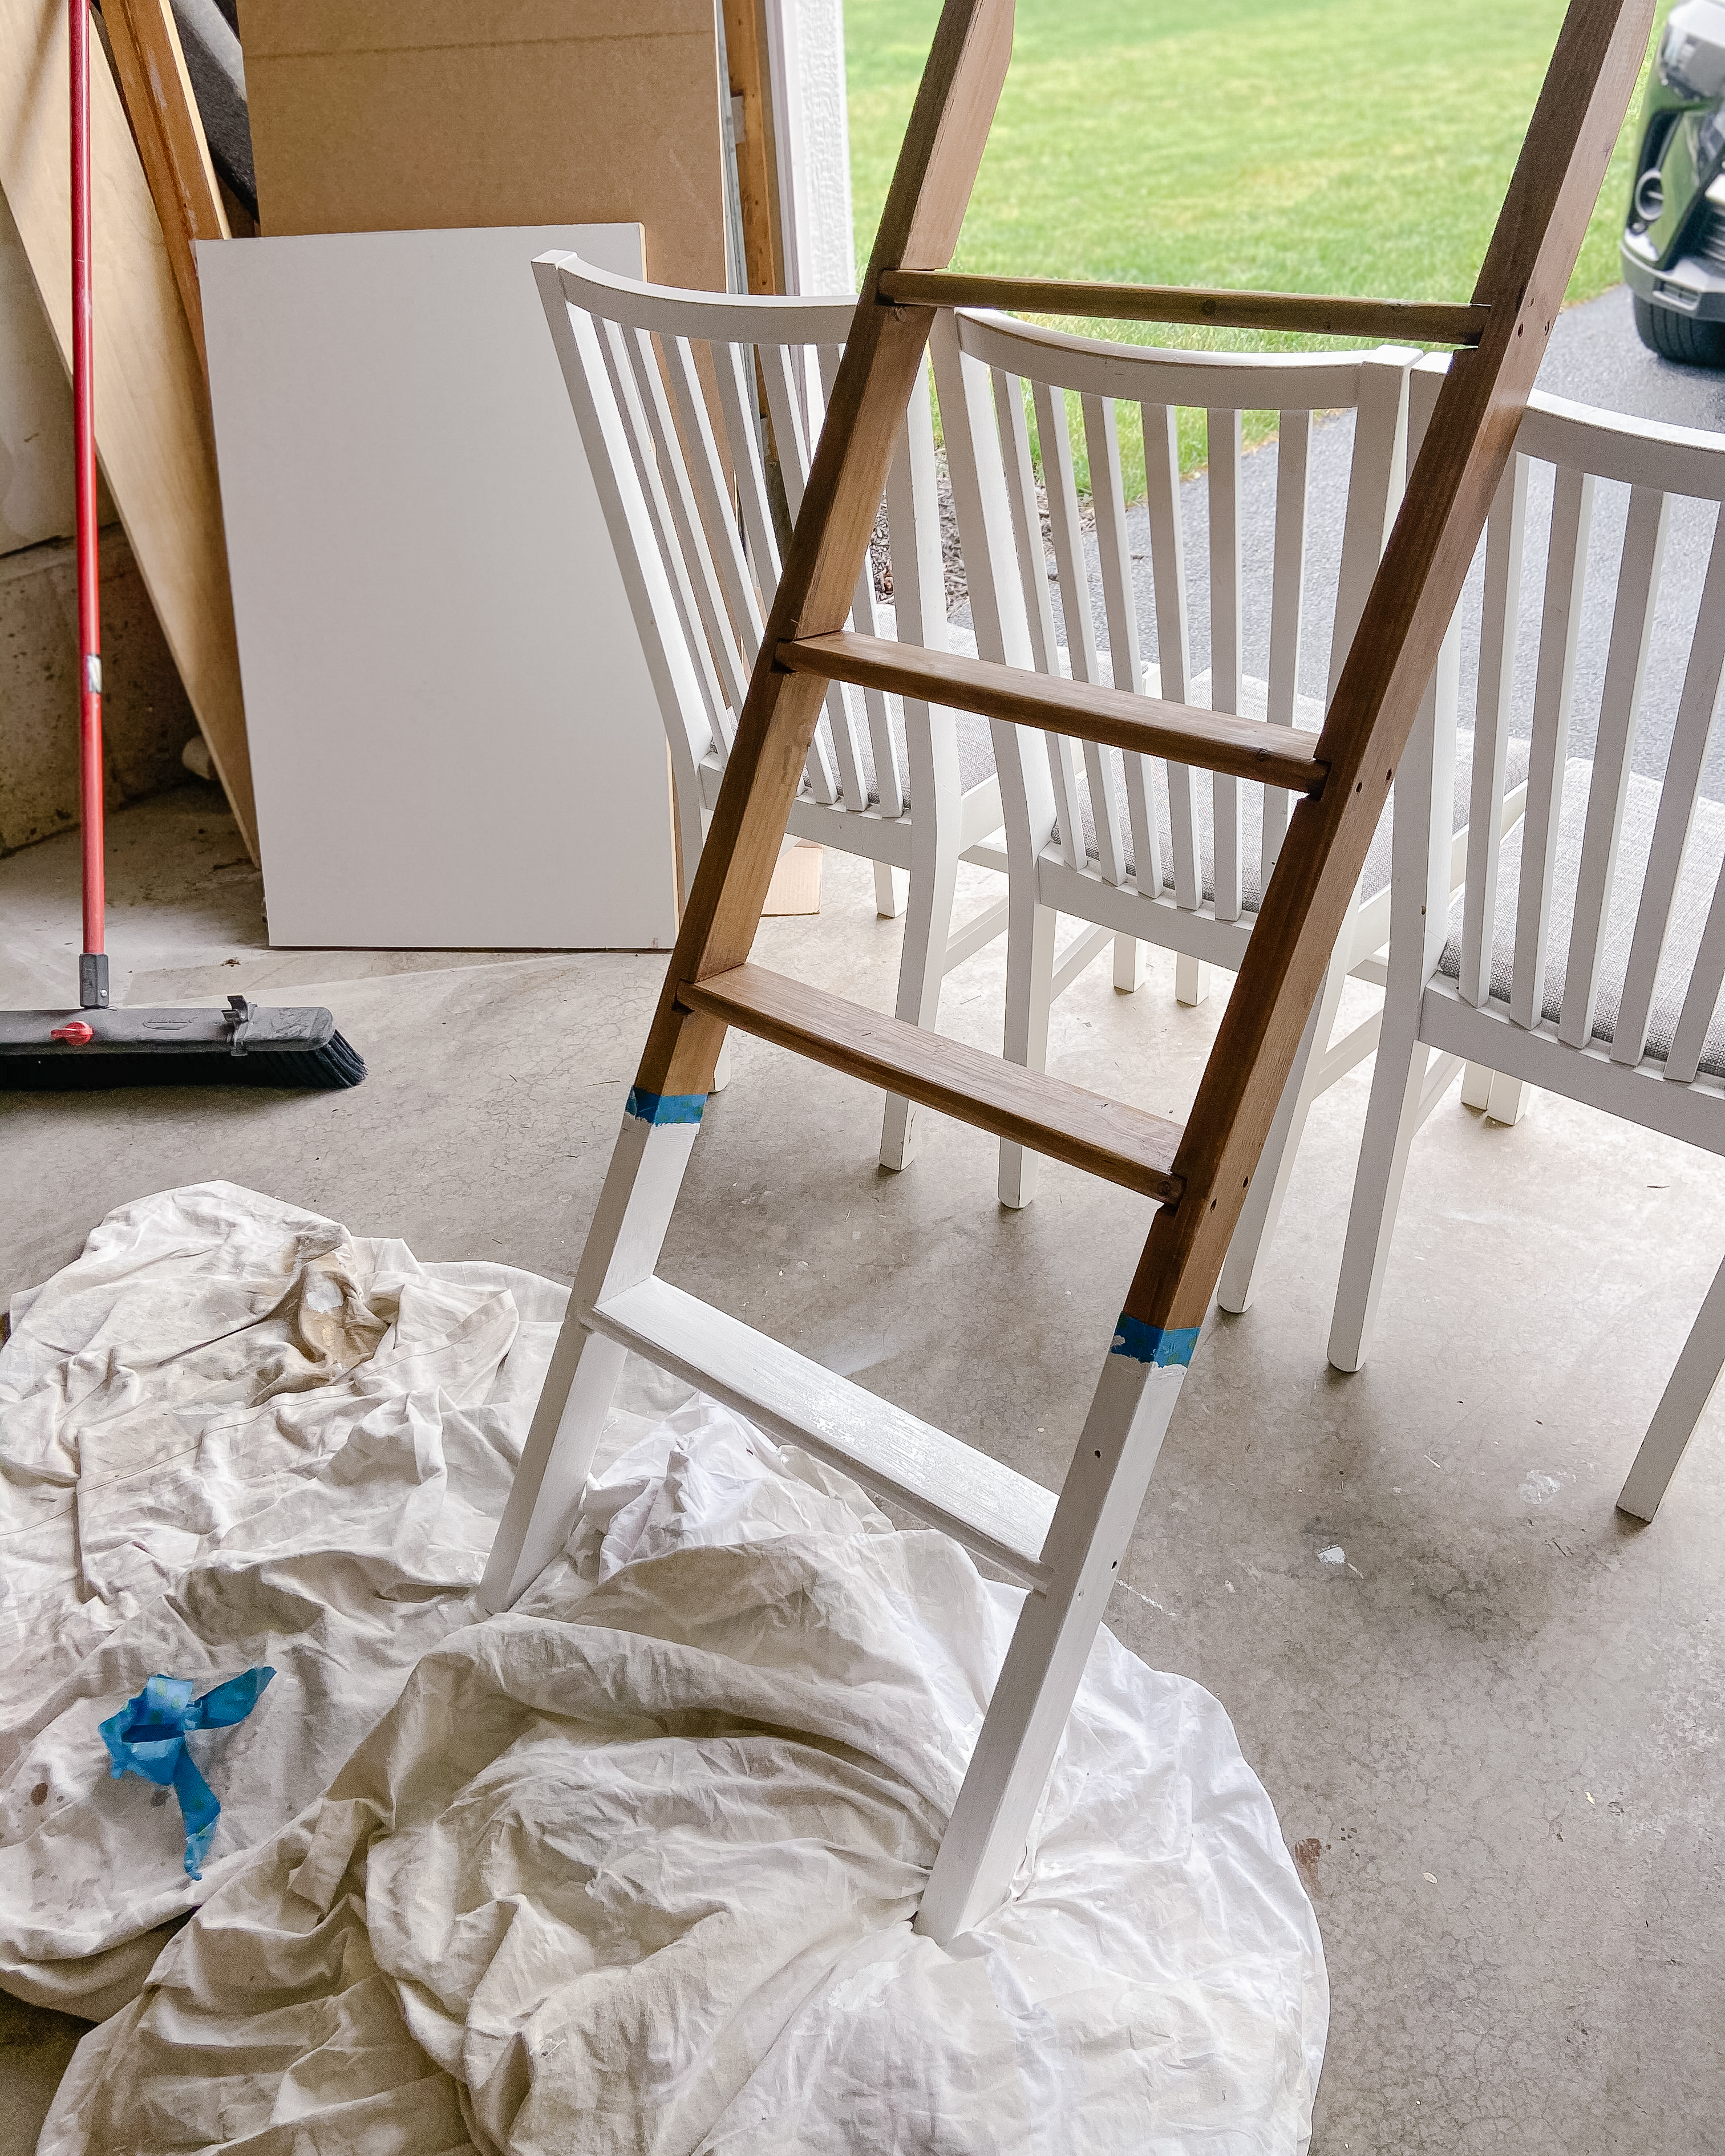
Pro tip: The easiest way to apply stain is by wearing a pair of gloves and using one of these staining pads. Dip the sponge-like pad in the stain and apply it evenly in long strokes.
With the ladder relocated up front and center, I really wanted to turn it into a focal point of the set. I was inspired by the Serena and Lily dipped ladder look and I won’t lie, this added a considerable amount of extra work than just painting it white would have. In the end, though, I’m so glad that I took the time to bring this special design element to life.
With the stained upper portion of the ladder complete, I taped off the bottom of the ladder and painted it with the same white paint as the rest of the swing set. I then sealed the ladder with several coats of the spray sealant before hanging it back up.

And that concludes Part 1 of painting our swing set. Two years later, would I do it all again? Absolutely! It has held up quite well and has required minimal seasonal maintenance.
In Part 2 (coming soon) you’ll find all of the details on the mini-makeovers that I completed. These finishing touches were so not necessary, but just too fun not to add! Until then, below you will find a list of all of the supplies that I used as well as the paint colors, stains, and sealants all in one place.
Lastly, if you were inspired by this post or found it helpful, I’d love for you to tag me in your finished painted swing sets or playhouses on Instagram. I love seeing and sharing them over on the app!
SUPPLY LIST
- Ladder pail
- Semi-rough roller covers and both an extended long arm roller holder and standard reach holder.
- Plastic Dropcloths
- Wide brush and a detail angle brush- this set worked well!
- Painter’s Tape
- Staining Pads
- Gloves
PAINT/STAIN/SEALANT DETAILS
- Main paint: I used 3 full cans of this Behr Premium Plus Exterior Satin Enamel Paint in Ultra Bright White
- Pink Door: Sherwin Williams Rosy Outlook
- White Spray paint: Rust-Oleum Painter’s Touch 2x 12 oz. Semi-Gloss White General Purpose Spray Paint
- Stain Colors: (See roof and ladder details below)
- Ladder: I used a sample size of Behr Premium Semi-Transparent Waterproofing Exterior Wood Stain and Sealer in both Tugboat Gray (warm) and Boothill Gray (cool) which I mixed them together for the perfect shade!
- Roof: Behr Premium Semi-Transparent Waterproofing Exterior Wood Stain and Sealer in the color Cordovan Brown.
- Spray Sealant: Rustoleum Clear Spray Paint in Matte Finish
- Gold Spray paint: Rustoleum Metallic Gold
- Pink Spray paint: Rustoleum Candy Pink
From our home to yours,
Tami
—-
Tami O’Malley Design is proudly serving the Chicago suburbs—from St. Charles to Geneva, Campton Hills, Wayne, Bartlett, Barrington, Wheaton, Winfield, Naperville, Hinsdale, Elmhurst, Downers Grove, and more. We offer full-service interior design and consultations. Whether you’re ready to renovate, build new, or furnish a room, we’ve got you covered. We provide expert guidance on everything from 3D rendering to paint selection and lighting. So, you can feel confident that your unique style and vision will shine through in every detail. Let’s connect, and together we’ll create a space you’ll truly love!
—-
Designer Tips for a Timeless Kitchen Renovation
Welcome to the heart of our home—our newly completed St. Charles Colonial kitchen renovation! If you’re here to uncover the specifics of our classic kitchen design—like the warm white painted cabinets (Sherwin Williams Greek Villa,…
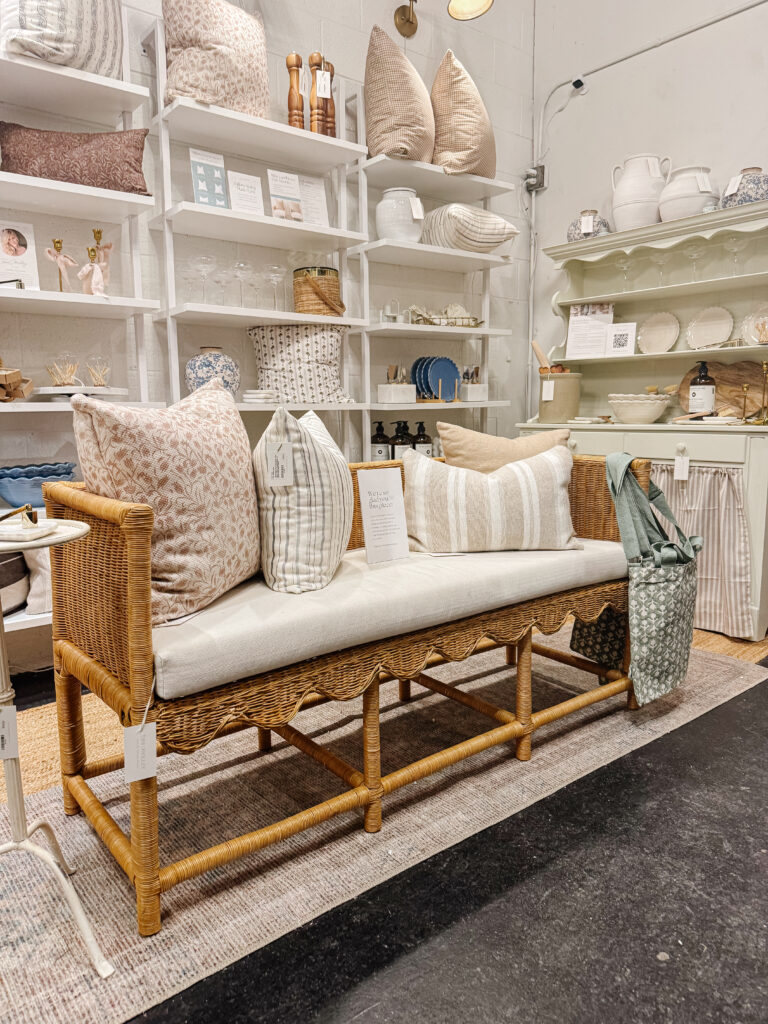
The Best Places to Shop for Home Decor in the Chicago Suburbs
For me, the joy of decorating comes from finding unique pieces that truly make a house feel like your home. Each discovery adds warmth and personality, making the final design even more special. Creating a…
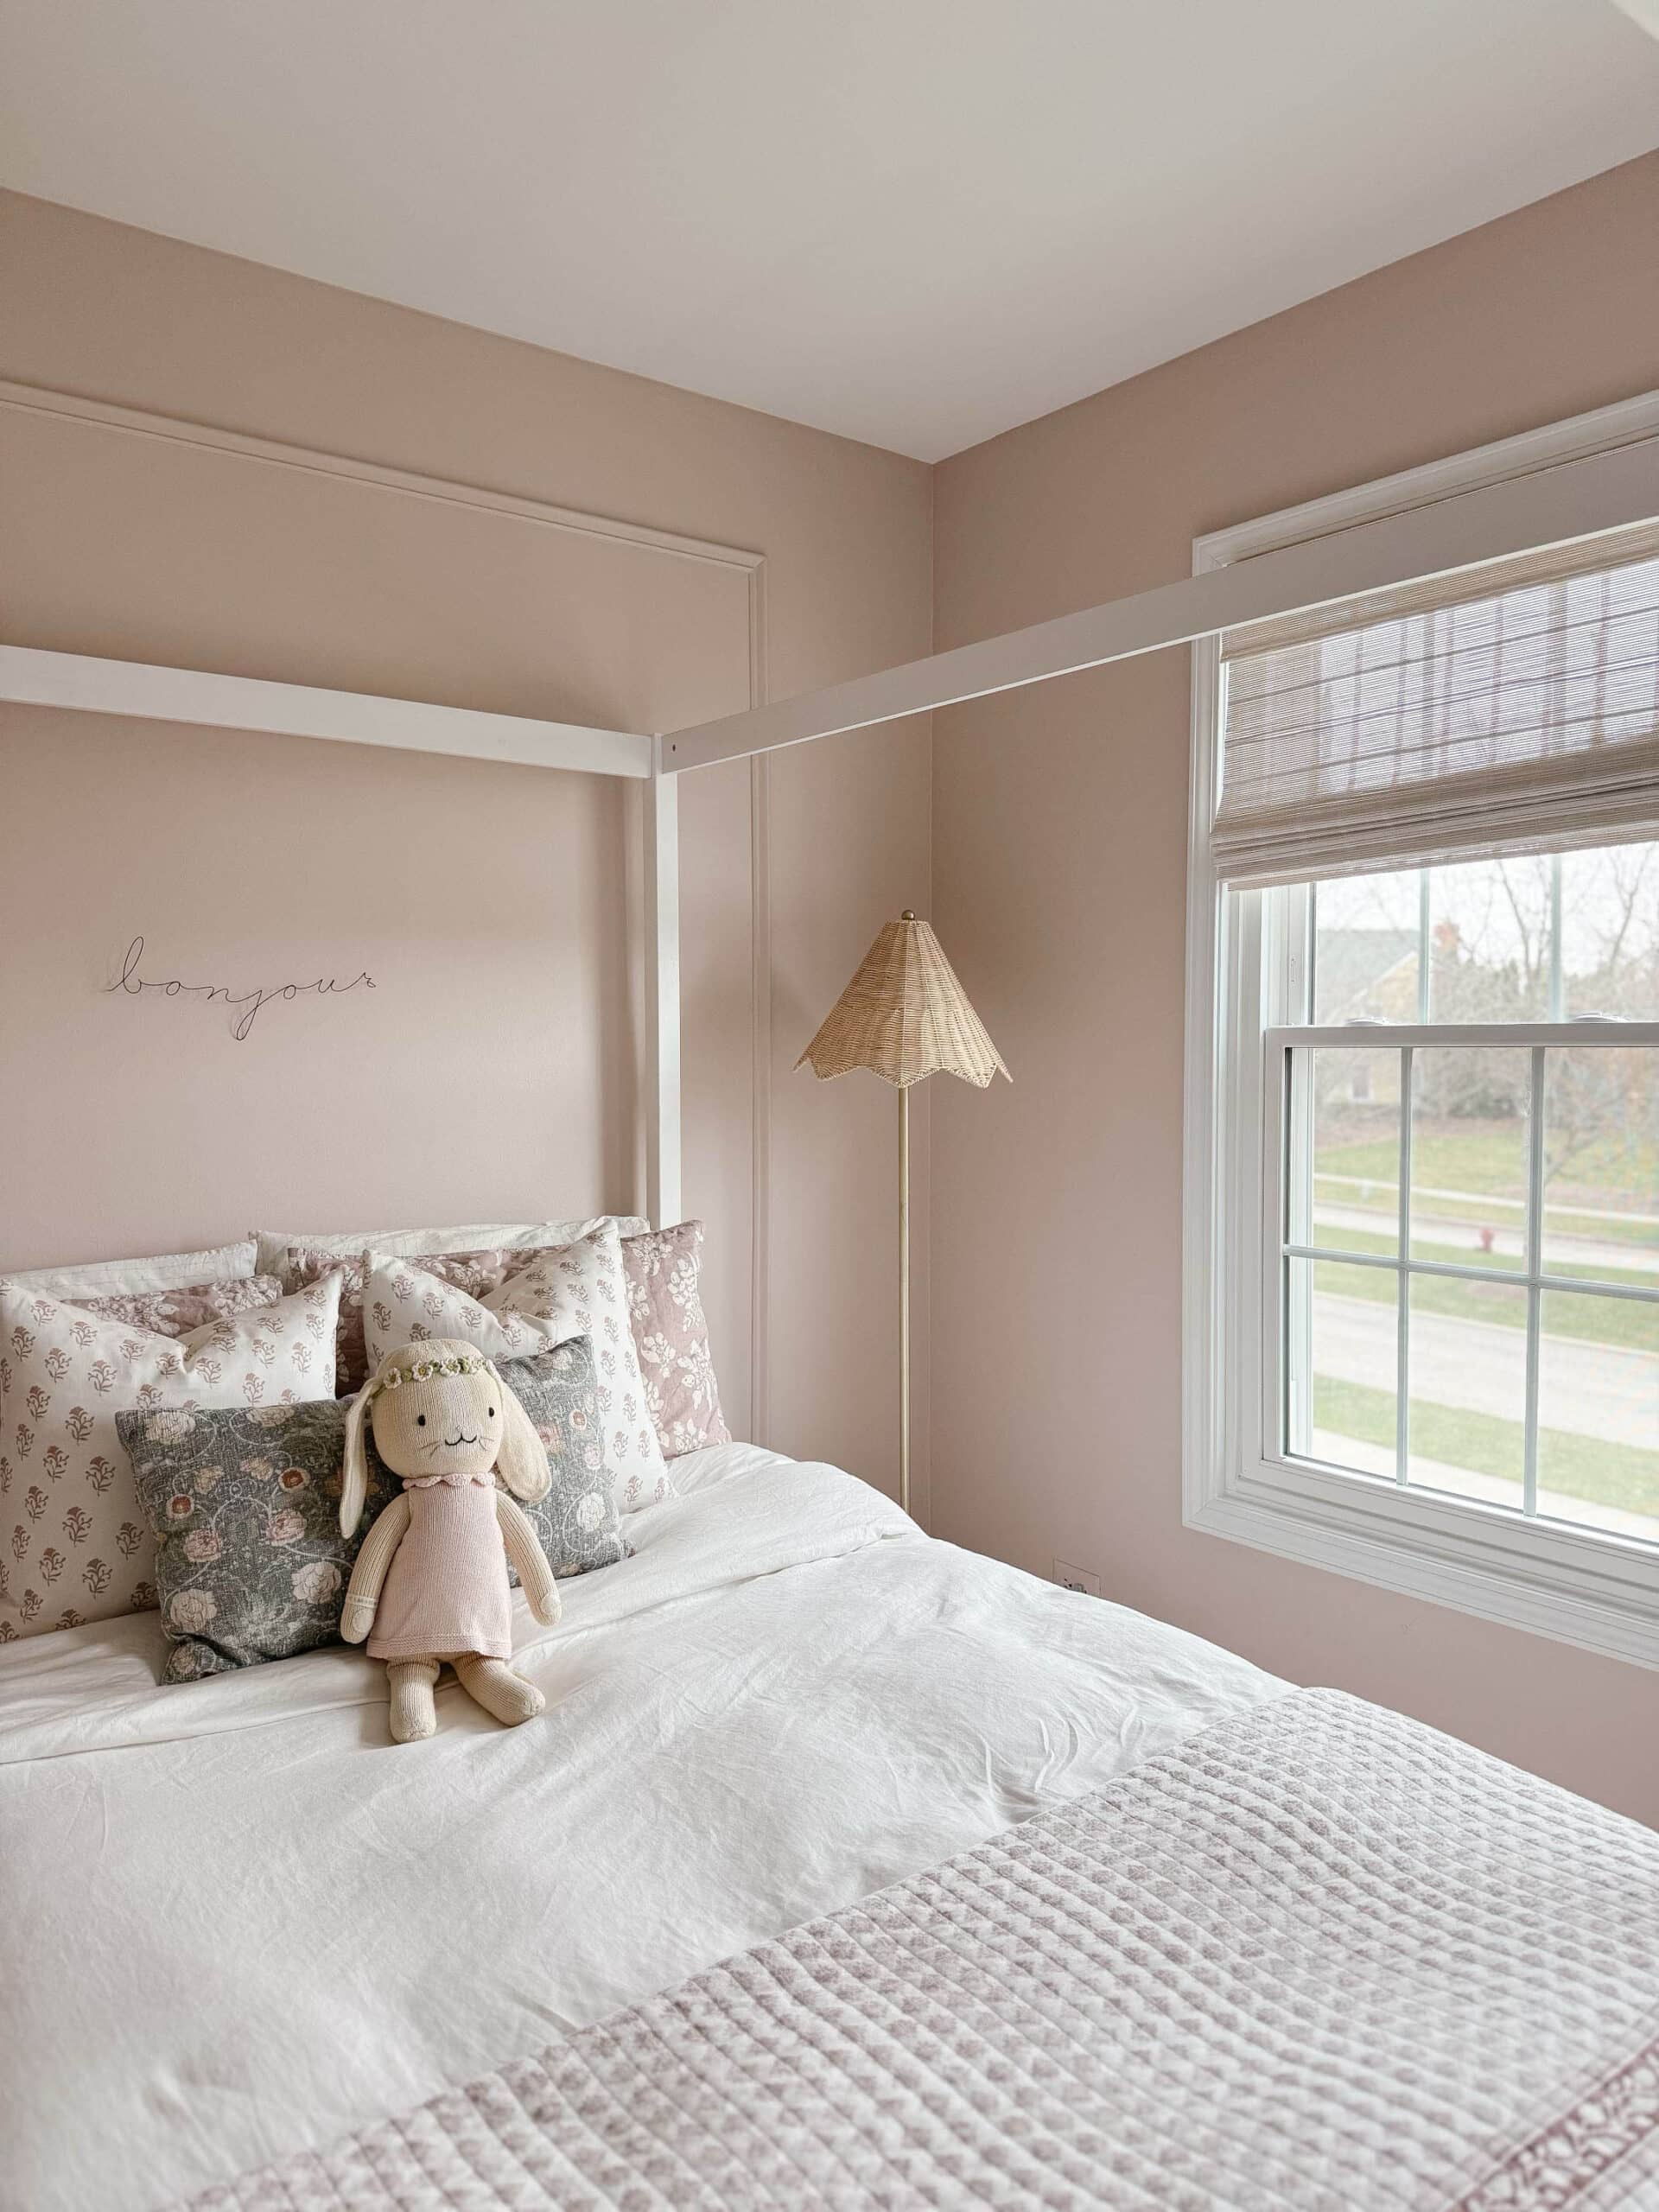
A Charming Girls’ Bedroom featuring Sherwin Williams Abalone Shell
Looking for fresh girls’ bedroom ideas? You’ve come to the right place! For as long as I can remember, my oldest, Josie, has dreamed of having a pink room, and our new house provided the…
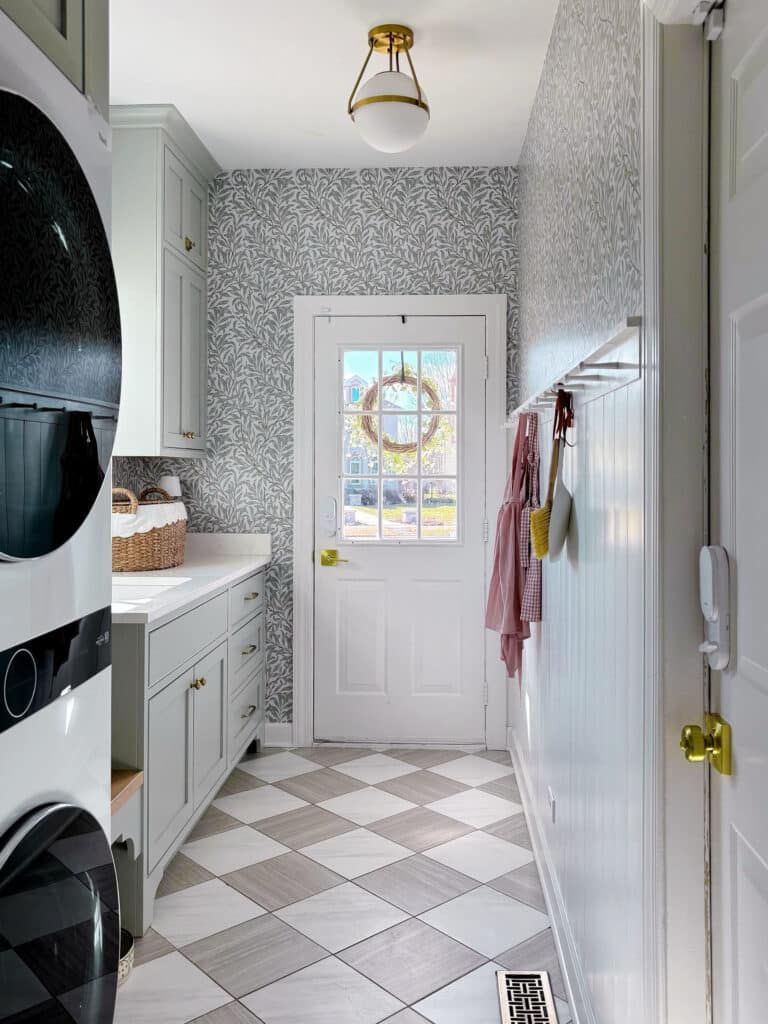
Our Serene and Green Laundry | Mudroom Renovation
I’m excited to share a special part of our home—our renovated mudroom laundry room! Affectionately called the “Serene and Green Laundry Room,” this tiny but mighty space, nestled just off the kitchen, serves multiple purposes…
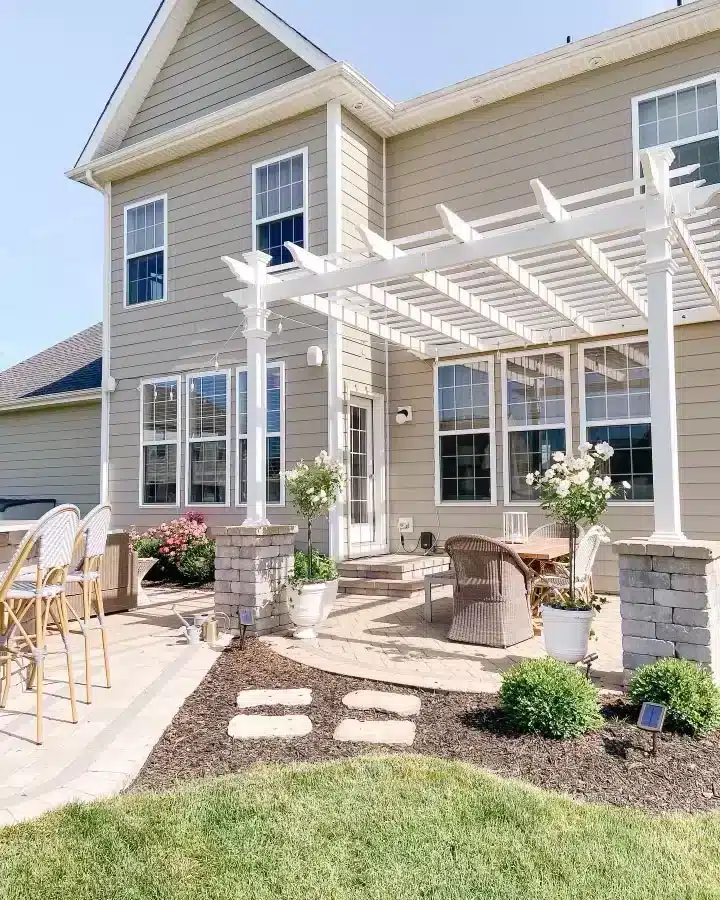
Patio & Pergola | Planning a Backyard Oasis
Oh, how we loved creating an outdoor space in our old home! It was a delightful adventure filled with cherished memories. The paver patio, outdoor kitchen, and pretty white pergola were more than features; they…

The Ultimate Mom Hack: The Bathroom Routine Bin
Managing the morning rush with two young daughters in a small bathroom can be quite an adventure! That’s why I’m always on the lookout for solutions that simplify our family’s morning and evening routines. Let…

